Are you staring at your walls, paintbrush in hand, wondering if you really need to prime? Or maybe you have a painter over that is using a primer that doesn’t match your chosen color and you’re a little concerned.
At Brush & Roll Painting, we've been helping Omaha residents transform their homes for nearly 30 years. We've seen firsthand the confusion that comes with selecting the right primer, whether you're a DIY painter or hiring a professional painter. That's why we've put together this article to help you navigate the world of interior primers with confidence.
By the end of this article, you'll be ready to choose the perfect primer for your project or understand your painters intentions for your project. In this article, we'll break down the different types of primers, and explain when and why to use them.
What is Interior Primer and Why Do You Need It?
Before we dive into the nitty-gritty of primer selection, let's start with the basics. Think of primer as the unsung hero of your painting project – it's not flashy, but it's absolutely essential for a top-notch finish.
Primer is like the foundation of a house. You can't see it once the job is done, but it's crucial for everything that comes after. Its main job is to create a uniform surface for your paint to adhere to, ensuring better coverage and a longer-lasting finish. But that's not all – primers can also:
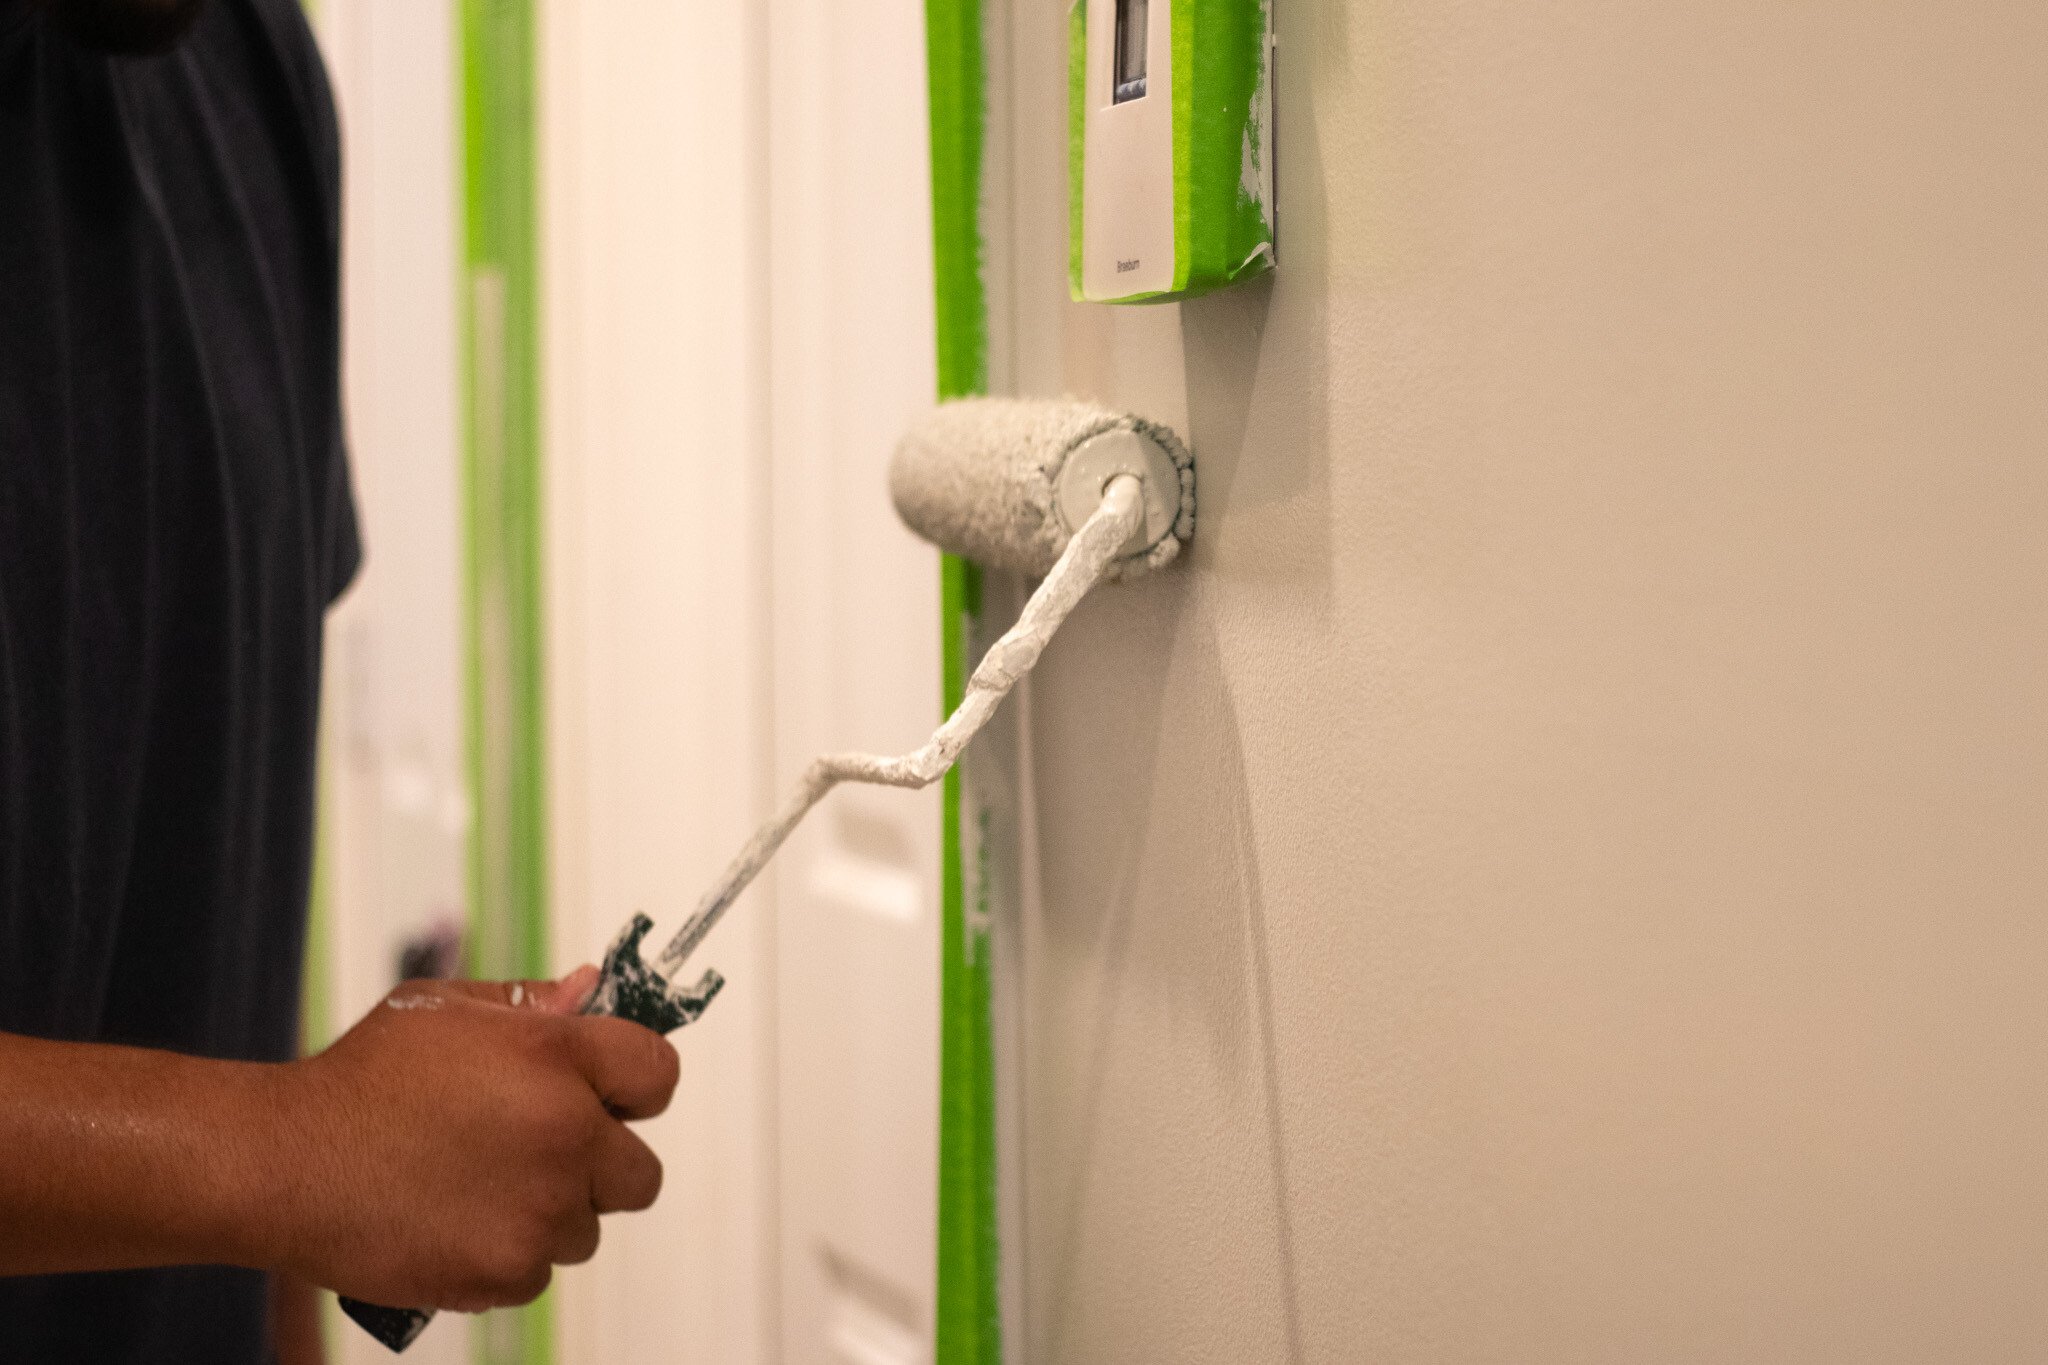
- Seal porous surfaces: Imagine trying to paint a sponge. That's kind of what it's like painting bare drywall without primer. A good primer seals the surface, preventing the paint from being absorbed unevenly.
- Cover stains: Got water stains from that time your upstairs neighbor's bathtub overflowed? A stain-blocking primer can help cover those up.
- Improve paint adhesion: Ever seen paint peeling off a wall? Chances are, primer wasn't used. It helps the paint grip the surface better, reducing the likelihood of peeling or flaking.
-Aug-29-2024-09-03-04-2137-PM.png?width=545&height=285&name=Blog%20Post%20Image%20Size%20(1)-Aug-29-2024-09-03-04-2137-PM.png) Types of Interior Primers for Walls
Types of Interior Primers for Walls
Now that we've covered the basics, let's look at the different types of primers you might encounter on your next trip to the hardware store or discuss with your painter.
1Water-Based Primers: The Versatile Option for Most Omaha Homes1. Water-based primers are versatile, easy to use, and perfect for most interior painting projects. Here's when you might want to reach for a water-based primer:
- Painting over previously painted surfaces
- Covering bare drywall
- Prepping wood surfaces
Pro tip: Water-based primers dry quickly and have low odor, making them ideal for impatient DIYers or those with sensitive noses. If you're hiring a painter, they might prefer these for their ease of use and quick drying time.
Oil-Based Primers: The Heavy-Duty Solution for Tough Jobs2. Oil-based primers are like the bodybuilders of the primer world – they're tough and can handle some serious challenges. Consider using an oil-based primer when:
- Covering severe water or smoke damage
- Painting over glossy surfaces
- Dealing with stubborn stains
Keep in mind that oil-based primers take longer to dry and have a stronger odor. If you're DIYing, you'll also need mineral spirits for cleanup. But for certain jobs, they're worth the extra effort. Professional painters often prefer these for challenging surfaces.
Shellac-Based Primers: The Problem-Solver for Extreme Cases3. Shellac-based primers are the superheroes of the primer world. They can tackle almost any surface or stain problem you throw at them. Use a shellac-based primer when:
- Covering severe water, smoke, or other stubborn stains
- Sealing in strong odors
- Priming bare wood (especially those prone to tannin bleed)
The downside? They're more expensive and have a strong odor. But when you need serious stain-blocking power, shellac is hard to beat. Many professional painters keep this in their arsenal for tough jobs.
Bonding Primers: The Adhesion Expert for Tricky Surfaces4. Bonding primers are specially formulated to stick to slick, hard-to-paint surfaces. They're your go-to when painting:
- Tile
- Glass
- PVC
- Other non-porous surfaces
If you're feeling adventurous and want to paint that 1970s tile in your bathroom, a bonding primer is your new best friend. Professional painters often use these for specialty projects.
Self-Priming Paints: The Time-Saver for Simple Projects5. Self-priming paints are like the convenience food of the painting world. They combine primer and paint in one product, potentially saving you time and effort. They can be a good choice when:
- Painting over a similarly colored surface
- Refreshing a room that's in good condition
However, be cautious. Self-priming paints may not provide the same level of coverage or stain-blocking as a separate primer and paint system. Many professional painters prefer to use separate primer and paint for better results.
When Should You Use Primer?
Now that you know your primer options, you might be wondering, "Do I always need to prime?" The short answer is: it depends. Here are some situations where priming is crucial:
Priming Bare Drywall Before Painting
If you're facing bare drywall in your Omaha home, whether it's a new construction, renovation, or repair, primer isn't just important – it's essential. Here's why:
- Prevents Uneven Absorption: Unprimed drywall is incredibly porous, much like a sponge. When you apply paint directly to bare drywall, it soaks up the paint unevenly, leading to a patchy, inconsistent finish. This not only looks unprofessional but can also create weak spots in your paint job.
- Reduces Paint Consumption: Without primer, bare drywall can easily soak up 2-3 times more paint than primed drywall. By using a primer first, you'll significantly reduce the amount of paint needed to achieve full coverage, saving you money in the long run.
- Hides Imperfections: Drywall primers are often slightly thicker than paint and can help smooth out minor imperfections in the surface, resulting in a more polished final look.
- Prevents "Flashing": This is a term used to describe shiny spots that can appear when paint is applied directly to joint compound (used to cover seams and screw holes in drywall). Primer helps prevent this by creating a consistent surface texture.
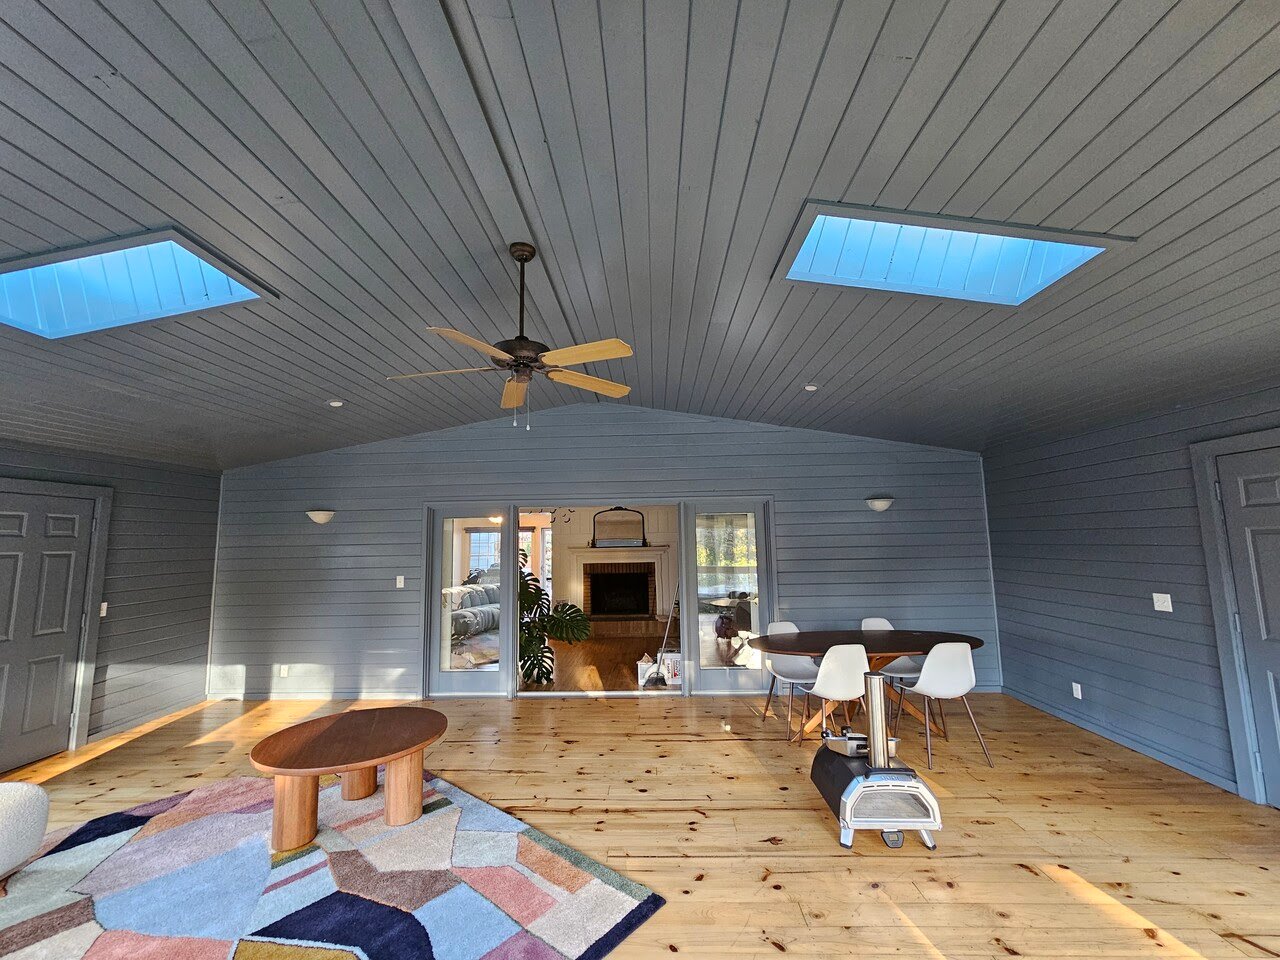
 Covering Dark Colors With Primer
Trying to paint a light color over a dark one? Primer will save you from applying countless coats of paint.
Whether you're trying to lighten up that moody burgundy dining room or cover the navy blue accent wall in your bedroom, dark colors can be stubborn. Here are some benefits of using primer over dark colors:
- Improved Coverage: Dark colors have a tendency to "peek through" lighter paints, even after multiple coats. A high-quality primer creates a neutral base, allowing your new color to shine without interference from the underlying dark shade.
- Fewer Coats of Paint: Without primer, you might need 3, 4, or even 5 coats of paint to fully cover a dark color. This not only wastes time and money but can also result in a thick, uneven finish. A good primer can reduce the number of paint coats needed, often to just two.
- True Color Representation: When painting light colors over dark ones, the underlying color can alter the appearance of your new paint. Primer ensures that your chosen color looks as it should, without any unexpected tinting from the previous shade.
- Cost-Effective Solution: While it might seem counterintuitive, using primer can actually save you money. Primer is generally less expensive than paint, so using a coat of primer and fewer coats of paint is often more economical than multiple coats and gallons of paint alone.
When covering extremely dark or vibrant colors, consider using a tinted primer. Ask your local paint store to add a small amount of your final paint color to the primer. This can enhance its hiding power and potentially reduce the number of paint coats needed even further.
Patience is key when covering dark colors. It might be tempting to rush the process, but taking the time to prime properly will result in a much better finish that you'll enjoy for years to come.

Dealing With Stains Before Painting
Stains on your walls can be a persistent eyesore, but primer is your secret weapon in the battle against these marks. Here's why primer is crucial for dealing with stains:
- Stain-Blocking Power: Many primers are specifically formulated with stain-blocking properties. They create a barrier that prevents stains from bleeding through your new paint job.
- Types of Stains: Different stains require different approaches:
- Water Stains: These often require an oil-based or shellac-based primer to effectively seal the stain.
- Smoke Damage: A shellac-based primer is typically best for covering smoke stains and sealing in odors.
- Grease Stains: Oil-based primers are excellent for covering grease marks.
- Crayon or Marker: A shellac-based primer can usually cover these stubborn marks.
- Multiple Coats: For particularly stubborn stains, you may need to apply two coats of primer for complete coverage.
- Odor Sealing: Some stains, like those from smoke or pets, come with unpleasant odors. Many stain-blocking primers also help seal in these smells.
- Cost-Effective Solution: While it might seem like an extra step, using a stain-blocking primer can actually save you money by reducing the number of paint coats needed and preventing stains from reappearing.
Do You Really Have to Use Primer?
Despite the benefits, some folks choose to skip the priming step. Here's why:
- They're in a hurry: Priming adds an extra step, and some people think they can save time by skipping it.
- They want to save money: Primer is an additional cost, and some people try to cut corners by omitting it.
- They don't understand its importance: If you've never seen the difference a good primer can make, you might not realize how crucial it is.
- They're using self-priming paint: While these products can be convenient, they may not provide the same benefits as a separate primer in all situations.
Skipping primer can sometimes lead to more work and expense in the long run. You might end up needing more coats of paint, or worse, dealing with peeling, flaking, or stains bleeding through your new paint job. So, it’s important that if you decide to skip primer, that you know your walls really don’t need it.
A study by the Paint Quality Institute found that using a primer can extend the life of your paint job by up to 50%. That's a lot of extra time before you need to repaint!
-Aug-29-2024-09-10-43-7538-PM.png?width=614&height=321&name=Blog%20Post%20Image%20Size%20(2)-Aug-29-2024-09-10-43-7538-PM.png)
Why Is Primer a Different Color Than the Paint?
Have you ever opened a can of primer and been surprised by its color? Maybe you were expecting white but found a pale gray or even a shade of pink. Don't worry – this is completely normal and intentional. Here's why primers often come in different colors:
- Enhancing Coverage: Different colored primers can help certain paint colors achieve better coverage. For instance, gray primer often works well under deep or bright colors, while pink-tinted primers can enhance the warmth of some beiges and tans.
- Indicating Application: The color difference between primer and paint helps you see where you've applied the primer, ensuring even coverage across the entire surface. This is especially helpful when priming a white or off-white wall.
- Neutralizing Underlying Colors: Some primers are tinted specifically to neutralize certain underlying colors. For example, a primer with a slight green tint can help neutralize red tones in wood.
- Improving Paint Adhesion: In some cases, a contrasting primer color can actually improve the adhesion of the topcoat, especially for deeper paint colors.
- Stain Blocking: Certain primer colors, like yellow or pink, are better at blocking stains and preventing them from bleeding through the topcoat.
It's important to note that while primer color can influence the final look of your paint job, it doesn't need to match your paint color exactly. In fact, paint stores can often tint your primer to a color that will work best with your chosen paint color.
If you're working with a professional painter, they should be able to explain their primer choice and how it will benefit your specific project.
Pro Tip: If you're unsure about how a primer color might affect your final paint color, ask for a sample or do a small test patch. This can help you visualize the end result and make any necessary adjustments before tackling the entire room.
Understanding the science behind primer colors can help you make informed decisions about your painting project, whether you're doing it yourself or working with a professional. Remember, the goal is a beautiful, long-lasting finish, and sometimes that means embracing the unexpected colors of the actual primer.
Priming Your Wall Interior Paint Job
We've covered a lot of ground, from the basics of what primer does to the different types available and when to use them. Let's recap the key takeaways:
- Primer is crucial for a long-lasting, professional-looking paint job.
- There are several types of primers, each suited for different situations.
- While it might be tempting to skip priming, doing so can lead to more work and expense in the long run. Remember, when in doubt, it's always better to prime. It's like wearing sunscreen – you might not see the benefits immediately, but your future self will thank you!
- Choosing the right primer depends on your specific project and surface conditions.
At Brush & Roll Painting, we're passionate about helping Omaha homeowners achieve beautiful, long-lasting paint jobs. While we've shared our expertise in this article, we understand that every home and project is unique. If you'd prefer to leave your painting project to the professionals, we're here to help.
Click the button below to get a quote. We'd be thrilled to bring our expertise to your next painting project and help you create the home of your dreams, one room at a time.

While tackling any interior painting project, whether you are doing it yourself or hiring a professional, its important to be confident throughout the process so you don’t make any mistakes. To help, we’ve created the interior painting project checklist for homeowners in Omaha.
To get yours, click the button below, fill out the 3-question form, and view your checklist. You can mark off each step of the project as it goes, so your project stays on track.


-May-22-2026-01-56-32-9736-PM.png?width=800&height=418&name=Blog%20Post%20Image%20Size%20(1)-May-22-2026-01-56-32-9736-PM.png)


-May-15-2026-04-54-24-9954-PM.png?width=800&height=418&name=Blog%20Post%20Image%20Size%20(1)-May-15-2026-04-54-24-9954-PM.png)
-Sep-20-2024-01-43-26-0356-PM.png?width=800&height=418&name=Blog%20Post%20Image%20Size%20(2)-Sep-20-2024-01-43-26-0356-PM.png)


