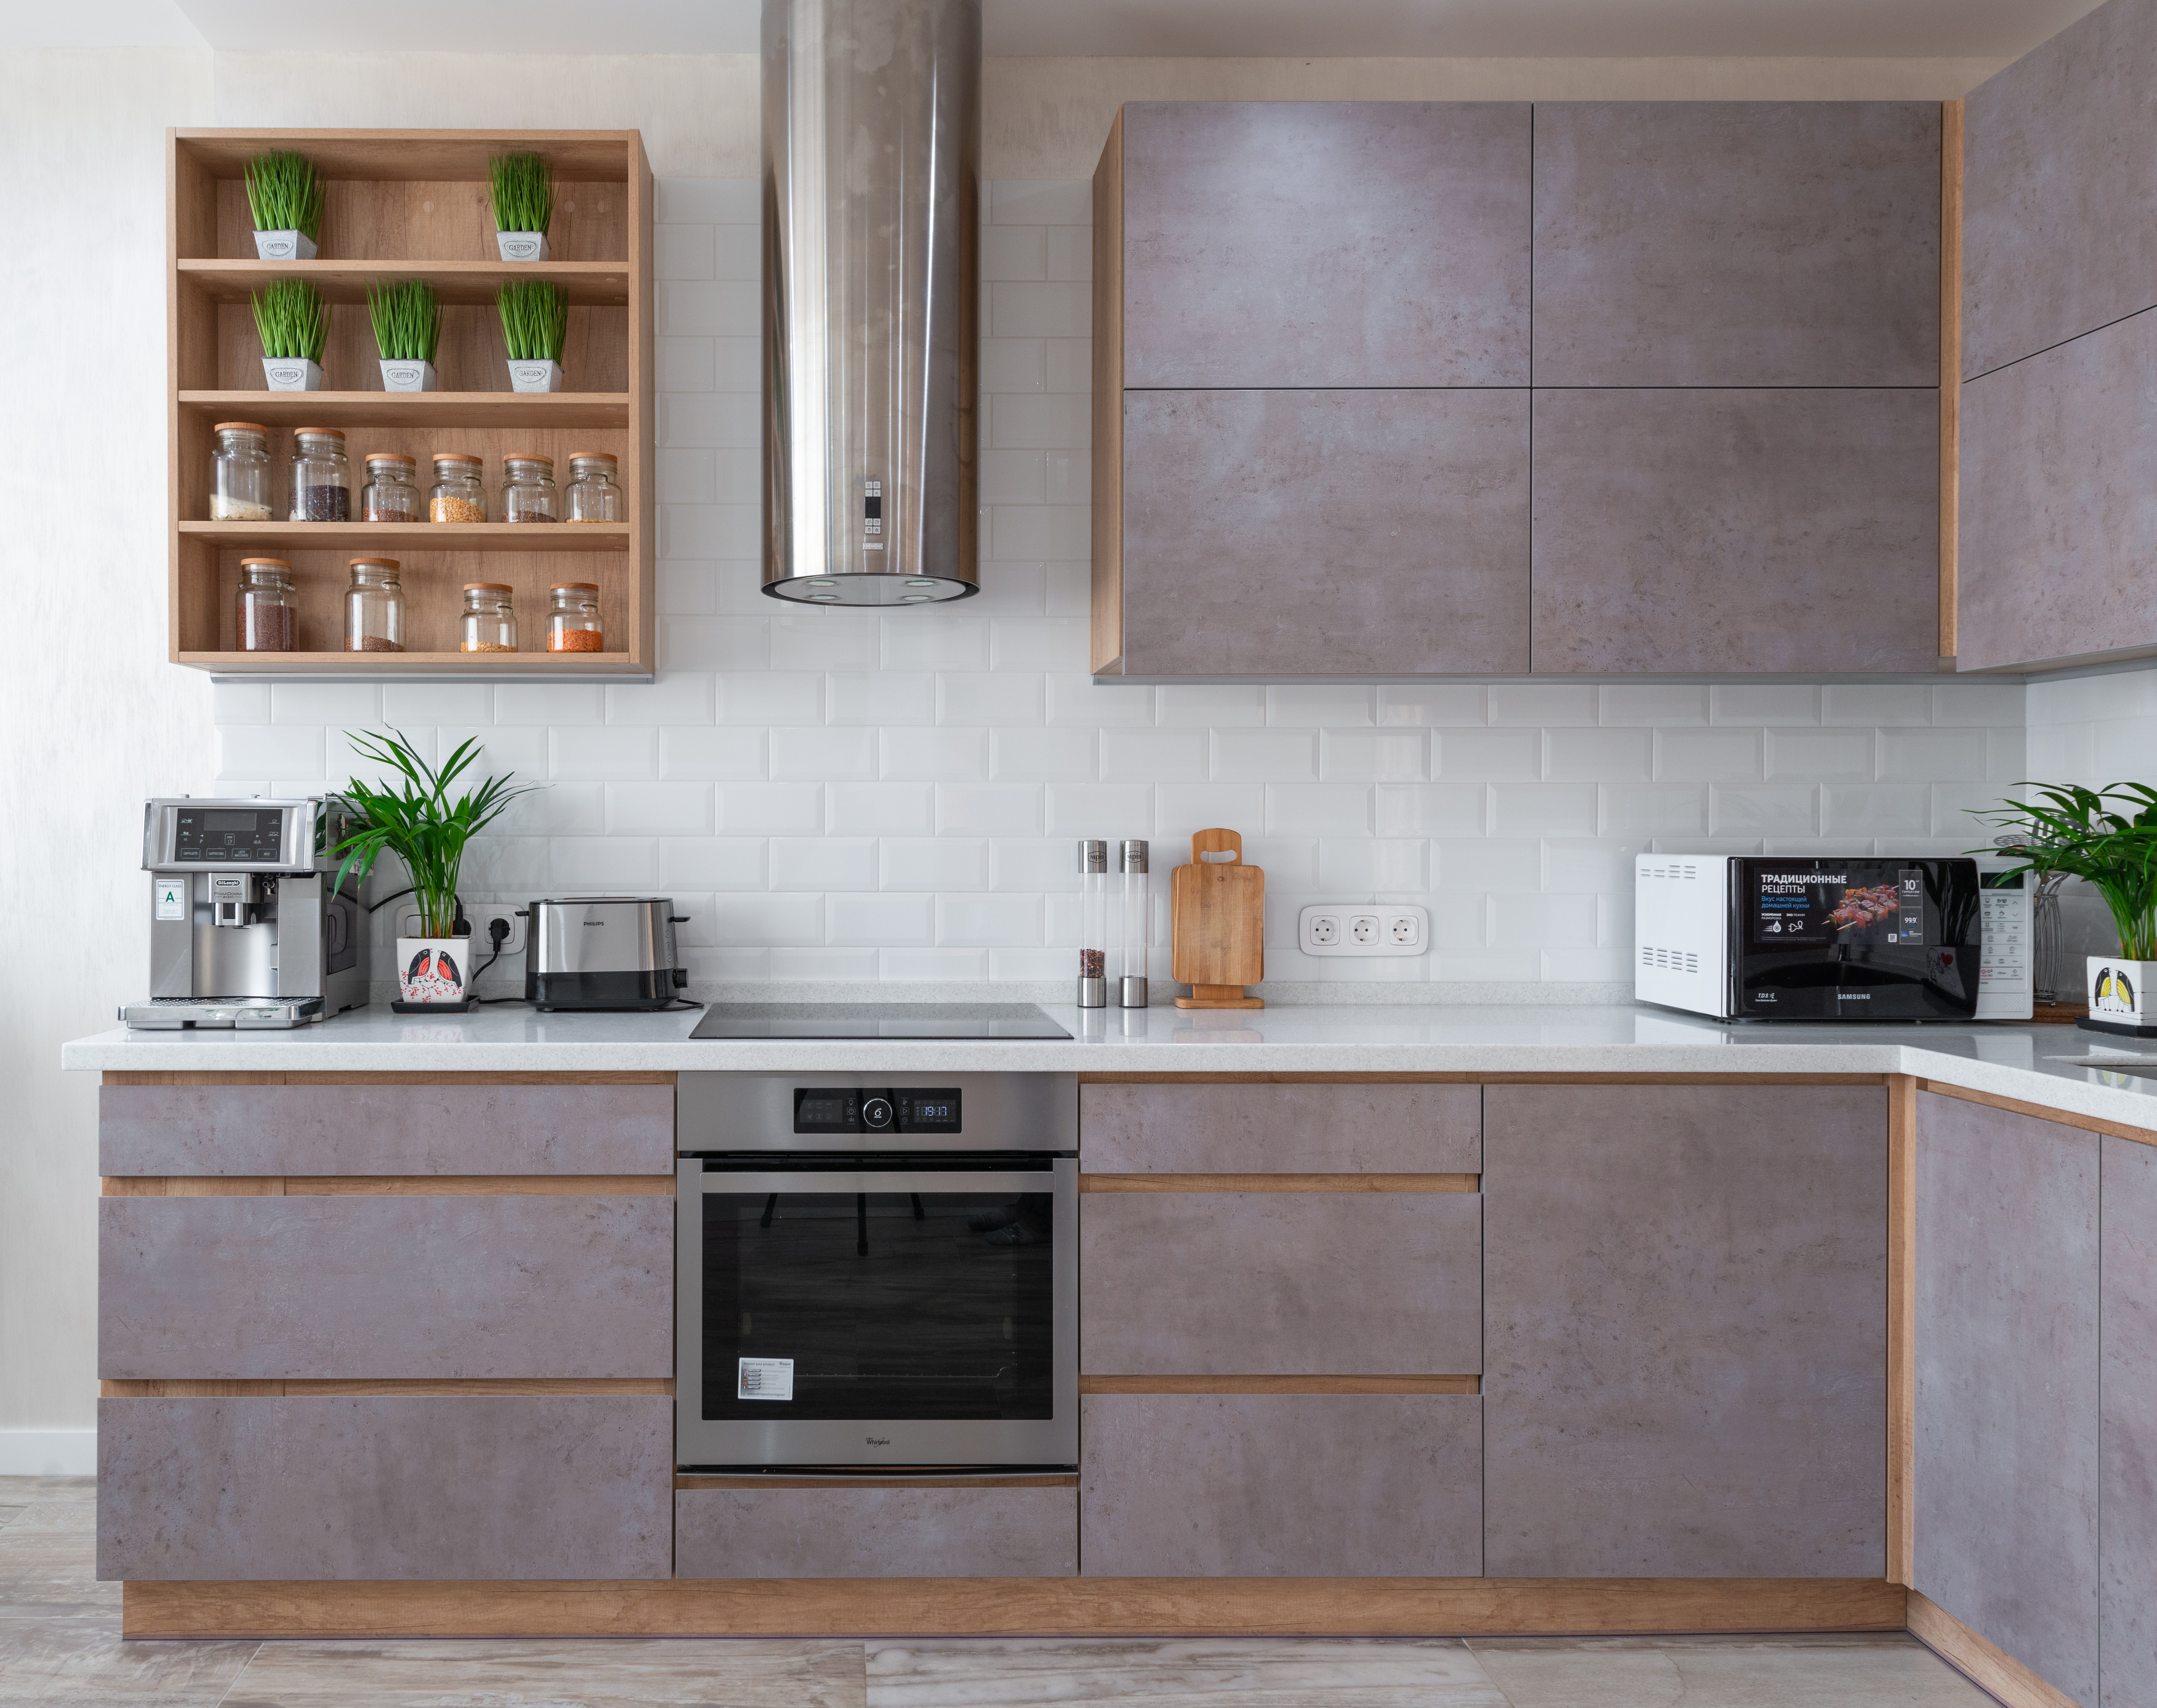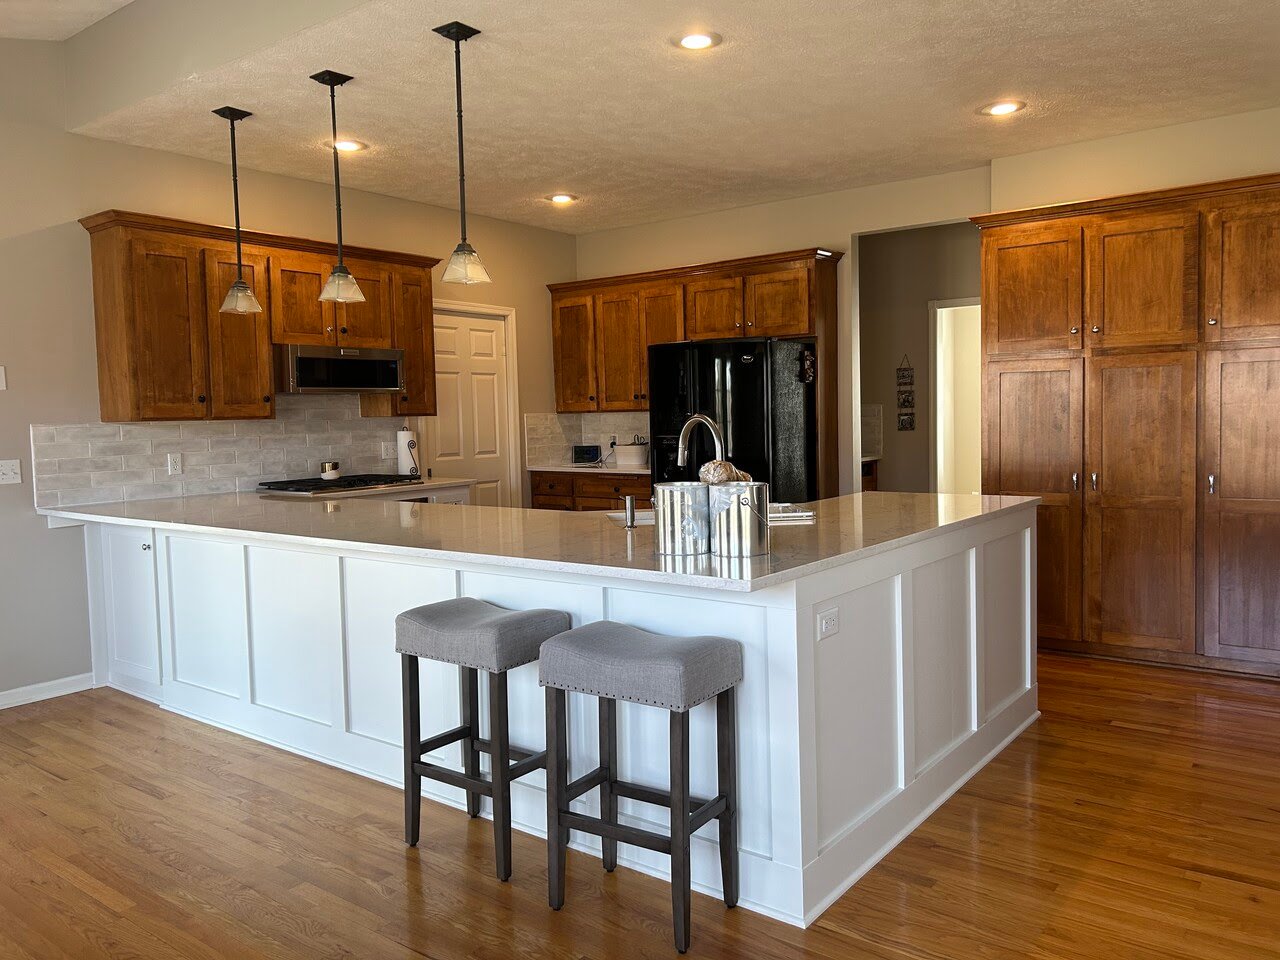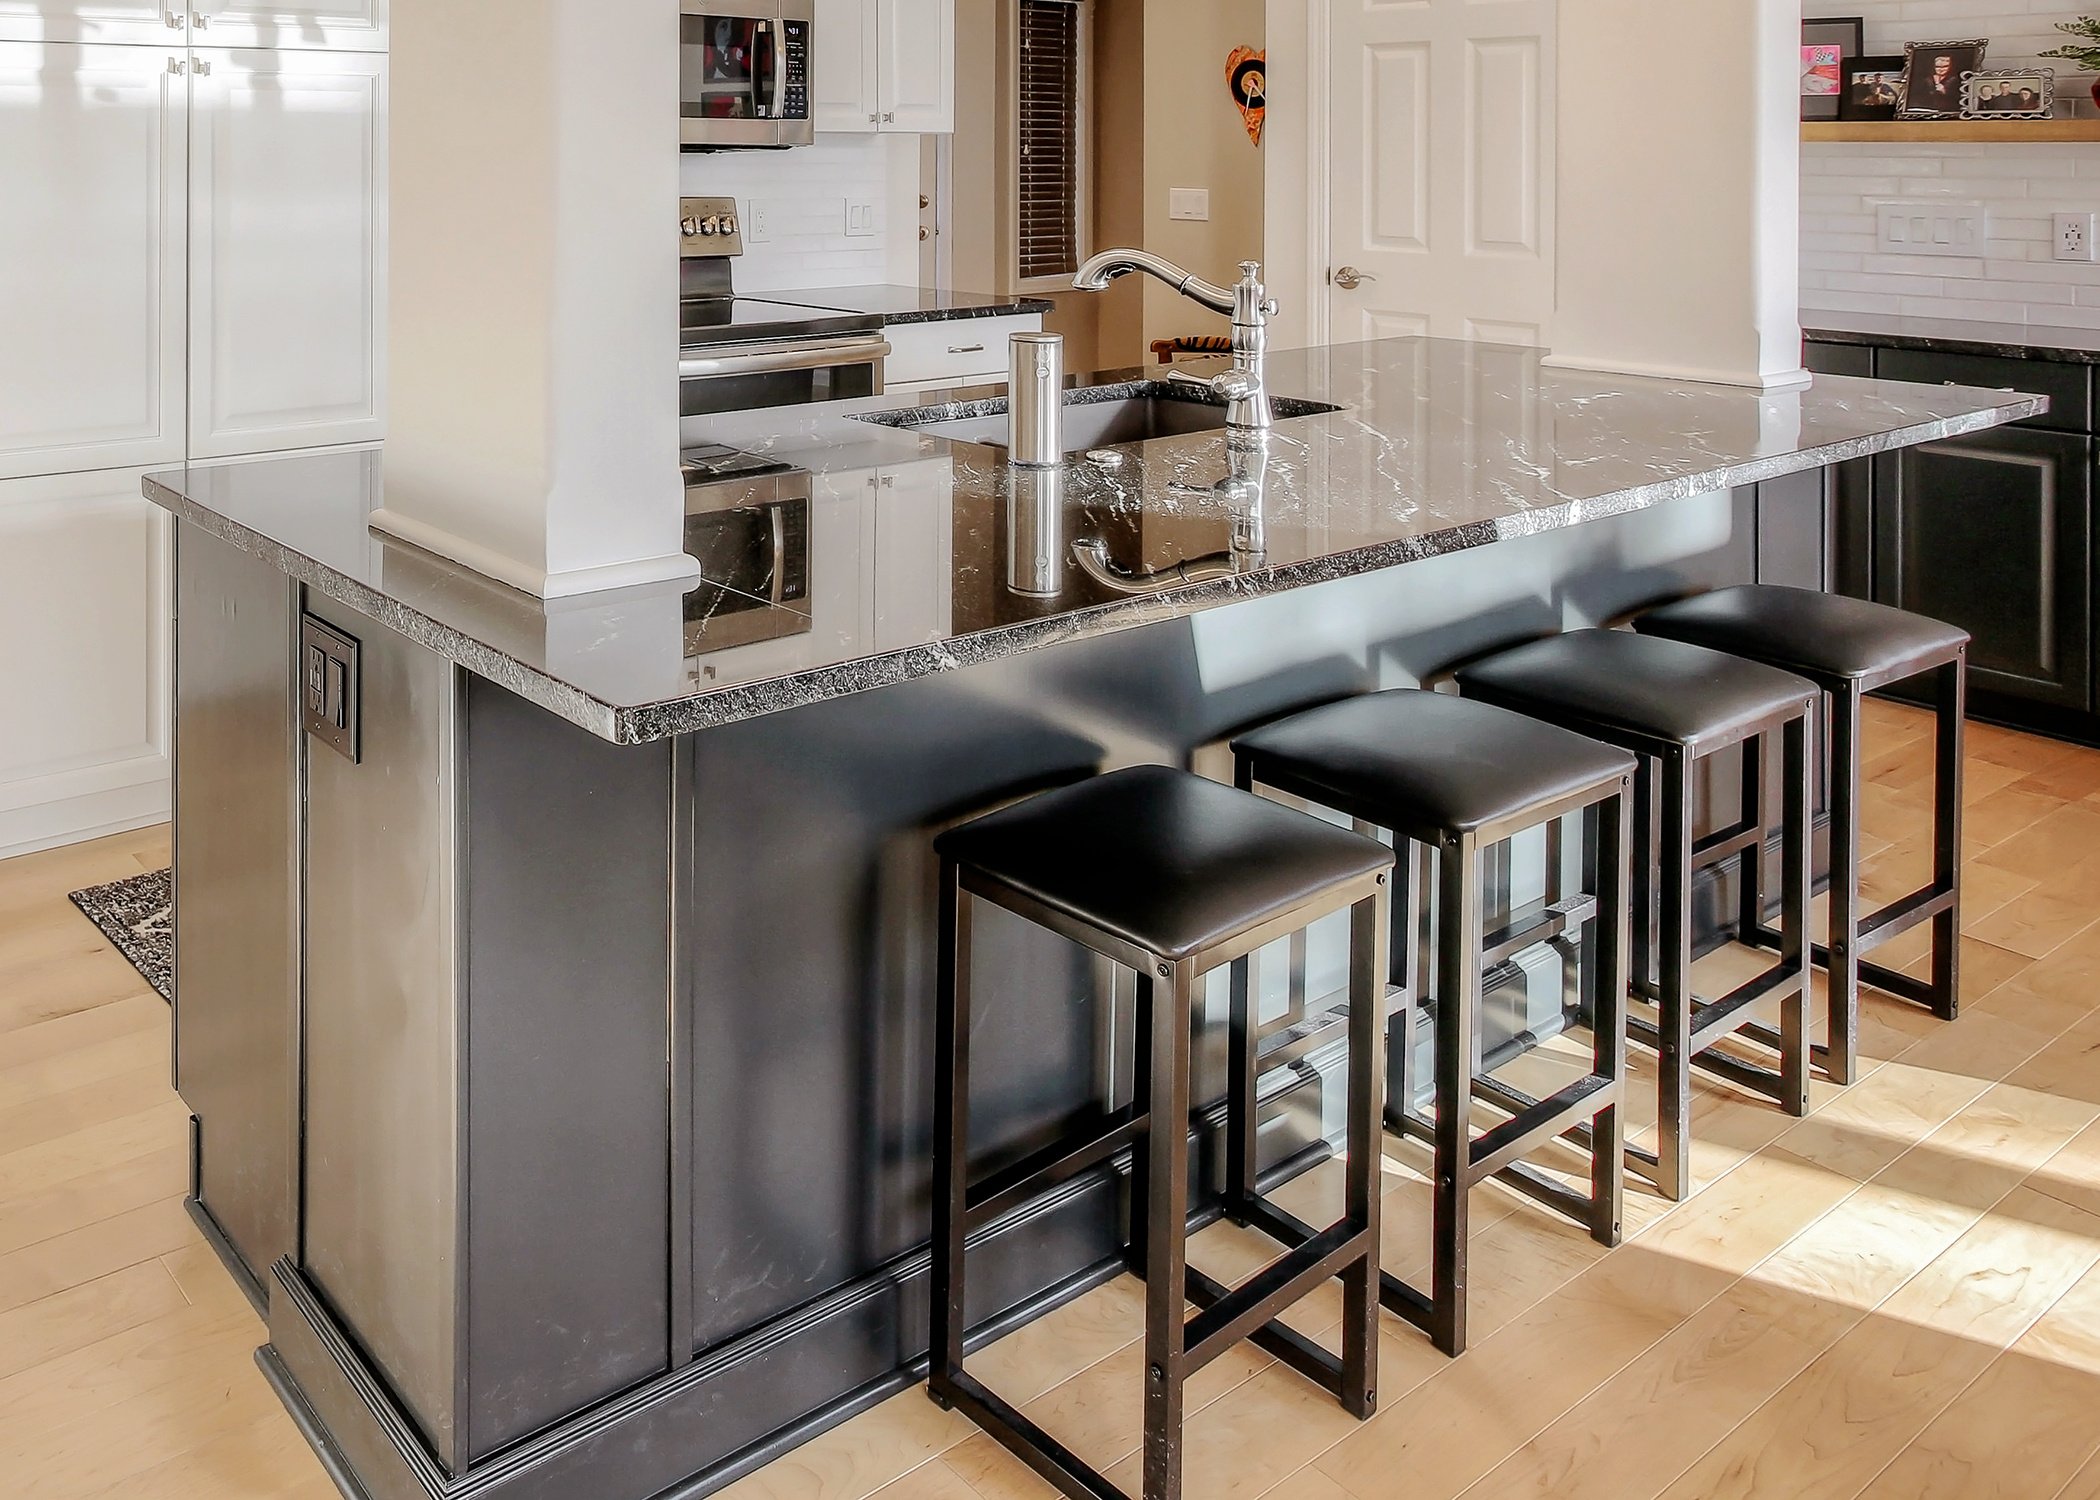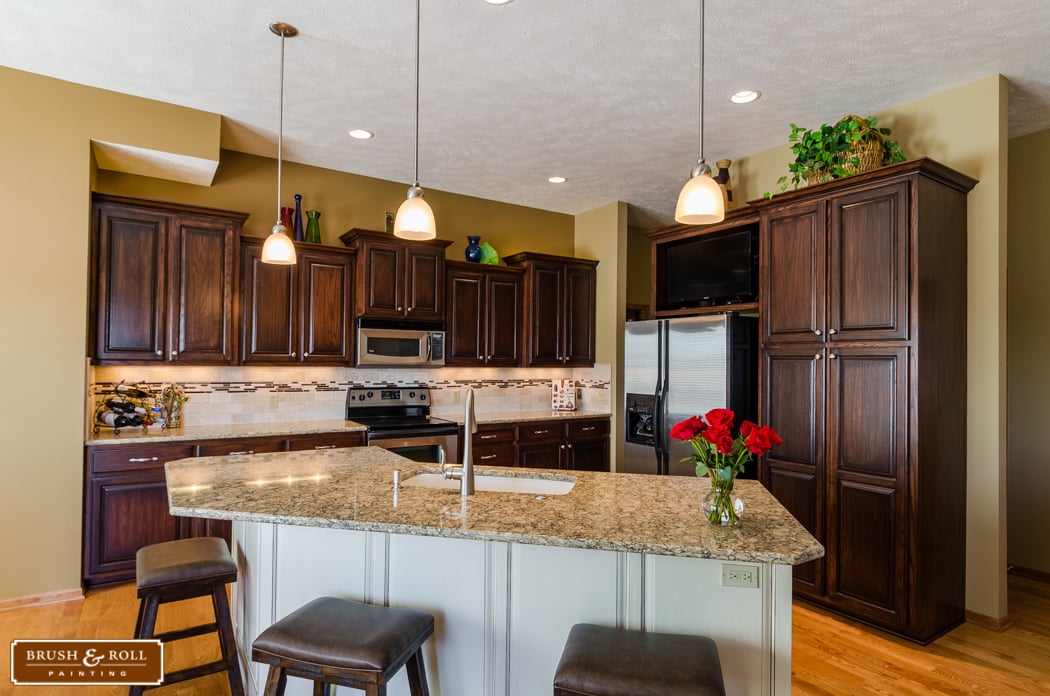
Laminate cabinets in a kitchen are not for everybody. If you have laminate cabinets you might be struggling with feeling like nothing matches with them.
Yet entirely removing and replacing a set of cabinets regardless of the finish can be quite expensive and in fact the process cost is prohibitive for a lot of people -- and also is a major contributor to adding mass to landfills, which can be entirely avoided.
To solve these problems you can repaint the cabinets. You can choose a paint that is much more fitting to your preferred aesthetic.
Brush & Roll Painting has been refinishing cabinets since 1996. We take pride in our refinishing process that uses high-quality products and extensive prep work to make the finish durable.
In this article we will outline the process for repainting laminate cabinets and give you some helpful tips along the way. By reading this article, you will know the best process for painting your laminate cabinets, whether you are looking to do the project yourself or hire a professional cabinet painter.
Process for Painting Laminate Cabinets
1. Proper Cabinet Preparation
Before you even begin the process of painting your laminate cabinets, you need to be fully prepared to paint them. To have the best results, take the time to prep the cabinets. If you do not, the finish will only last a few years before it is full of chips and scratches and is peeling off.
The first step in painting your cabinets begins with removing the cabinet doors and the hinges and screws that hold them in.
The reason that you take off the cabinet doors prior to painting them is that cabinet doors are better painted when they are not hanging on the hinges, and it is easier to paint the cabinets when the doors aren't on them.
You're going to want to label each of the cabinet doors so you put them back exactly where you got them and also put the smaller parts in small containers so that they don't get lost.
-2.png?width=582&height=304&name=Blog%20Post%20Image%20Size%20(10)-2.png)
2. Repair Damages and Sand
This is the time that you are going to want to check over the doors and cabinets for any damage that might exist in the laminate and repair it as best as you can as you're not going to want to paint over damaged laminate.
Make sure that your cabinets and cabinet doors are entirely clean as you won't want to paint on top of dirt or the grime that accumulates from years of cooking in your kitchen.
It will also be a good time to sand the surface of the cabinets and the cabinet doors so that they will be appropriately smooth prior to your painting them. While sanding laminate cabinets, only sand the top surface to remove the shiny layer. Over-sanding will damage the cabinets as the material is fragile.
3. Prime the Laminate Cabinets
Primer is a good foundation layer for your cabinets before painting them.
Primer is important before painting because the primer acts as a sort of adhesive to which the paint can better stick. This is an important step specifically for laminate cabinets since you need to create this key layer in between the previous finish and its future paint.
Primer is also fantastic because it is a smooth surface, which is always a better surface to paint.
-2.png?width=607&height=317&name=Blog%20Post%20Image%20Size%20(11)-2.png)
4. Paint the Laminate Cabinets
The time comes now to paint the cabinets with the color or colors of your choice.
You don't have to paint your cabinets only one color, by the way -- you can do multiple colors, different patterns, etc -- as long as it is something that suits the look you're hoping to achieve.
Though the finish arguably doesn't last nearly as long when you paint over laminate cabinets as opposed to painting wooden cabinets with identical dimensions, it certainly is a good holdover until you can possibly budget for an eventual replacement -- unless you like the way that the cabinets look enough to repaint them once again down the line.
5. Put the Doors back on the Cabinet Boxes
After the cabinets are completely painted and dried, you're going to want to put it all back where it was according to your labels.
Now that you're done you'll have a nice set of newly painted laminate kitchen cabinets that are going to look fantastic in your kitchen.
Painting Your Laminate Cabinets
Painting cabinets is more than a weekend chore. It takes research, the right materials, and the right amount of time to ensure the best, long-lasting results. Done correctly, repainting your cabinets can add value to you and your home. It can make daily tasks like cleaning and using your cabinets easier without damaging them.
If you would rather hire a professional to help you with your laminate cabinets in Omaha, NE, our team at Brush & Roll Painting can help.
To get started with us, click the button below or call us at 402-932-9764 for more details.
Whether you decide to tackle the cabinet painting project yourself or hire a professional, having a detailed checklist can make all the difference. Our cabinet painting project checklist ensures that you don't miss any crucial steps, from preparation to the final touches. It helps you stay organized, manage your time efficiently, and avoid common pitfalls that could compromise the quality of your work.
For DIY enthusiasts, a checklist can serve as a valuable guide, providing a clear roadmap to follow. For those opting to hire a professional, it can help you understand the process better and ensure that the job is done to your satisfaction. Click the button below to download our cabinet painting project checklist to make your cabinet transformation smooth and successful.
Bill is the owner and operator of Brush & Roll Painting. Bill Carlson is a second-generation painter. He grew up working with his father’s painting and restoration company. After graduating from Bennington High School, he served in the US Navy, traveling with the boxing team. While this was a great opportunity to see the world, it also made him realize how much he loved his little world here in Nebraska. He settled back into the painting industry, working with his brother. It wasn’t long before Bill’s entrepreneurial spirit pushed him to start his own business. Always one for a challenge, he longed to prove to himself that he could be as successful on his own as both his dad and brother were.
Topics:


