Steps To Painting Your Wooden Fence in Omaha, NE
When you have a home, one of the ways you can improve the look, as well as the overall security is to install a fence around the perimeter.
There are many different kinds of fences you can put around your home, one of which is solid wood; this creates a sort of classic look and has a timeless appeal.
When you have a wooden fence, you can choose to leave it exactly as is, but some people like to paint or stain it to give it a different look than the wood is naturally.
There are numerous ways to paint a fence but some are more time intensive than others.
Let us now look at the steps to painting your wooden fence in Omaha, NE
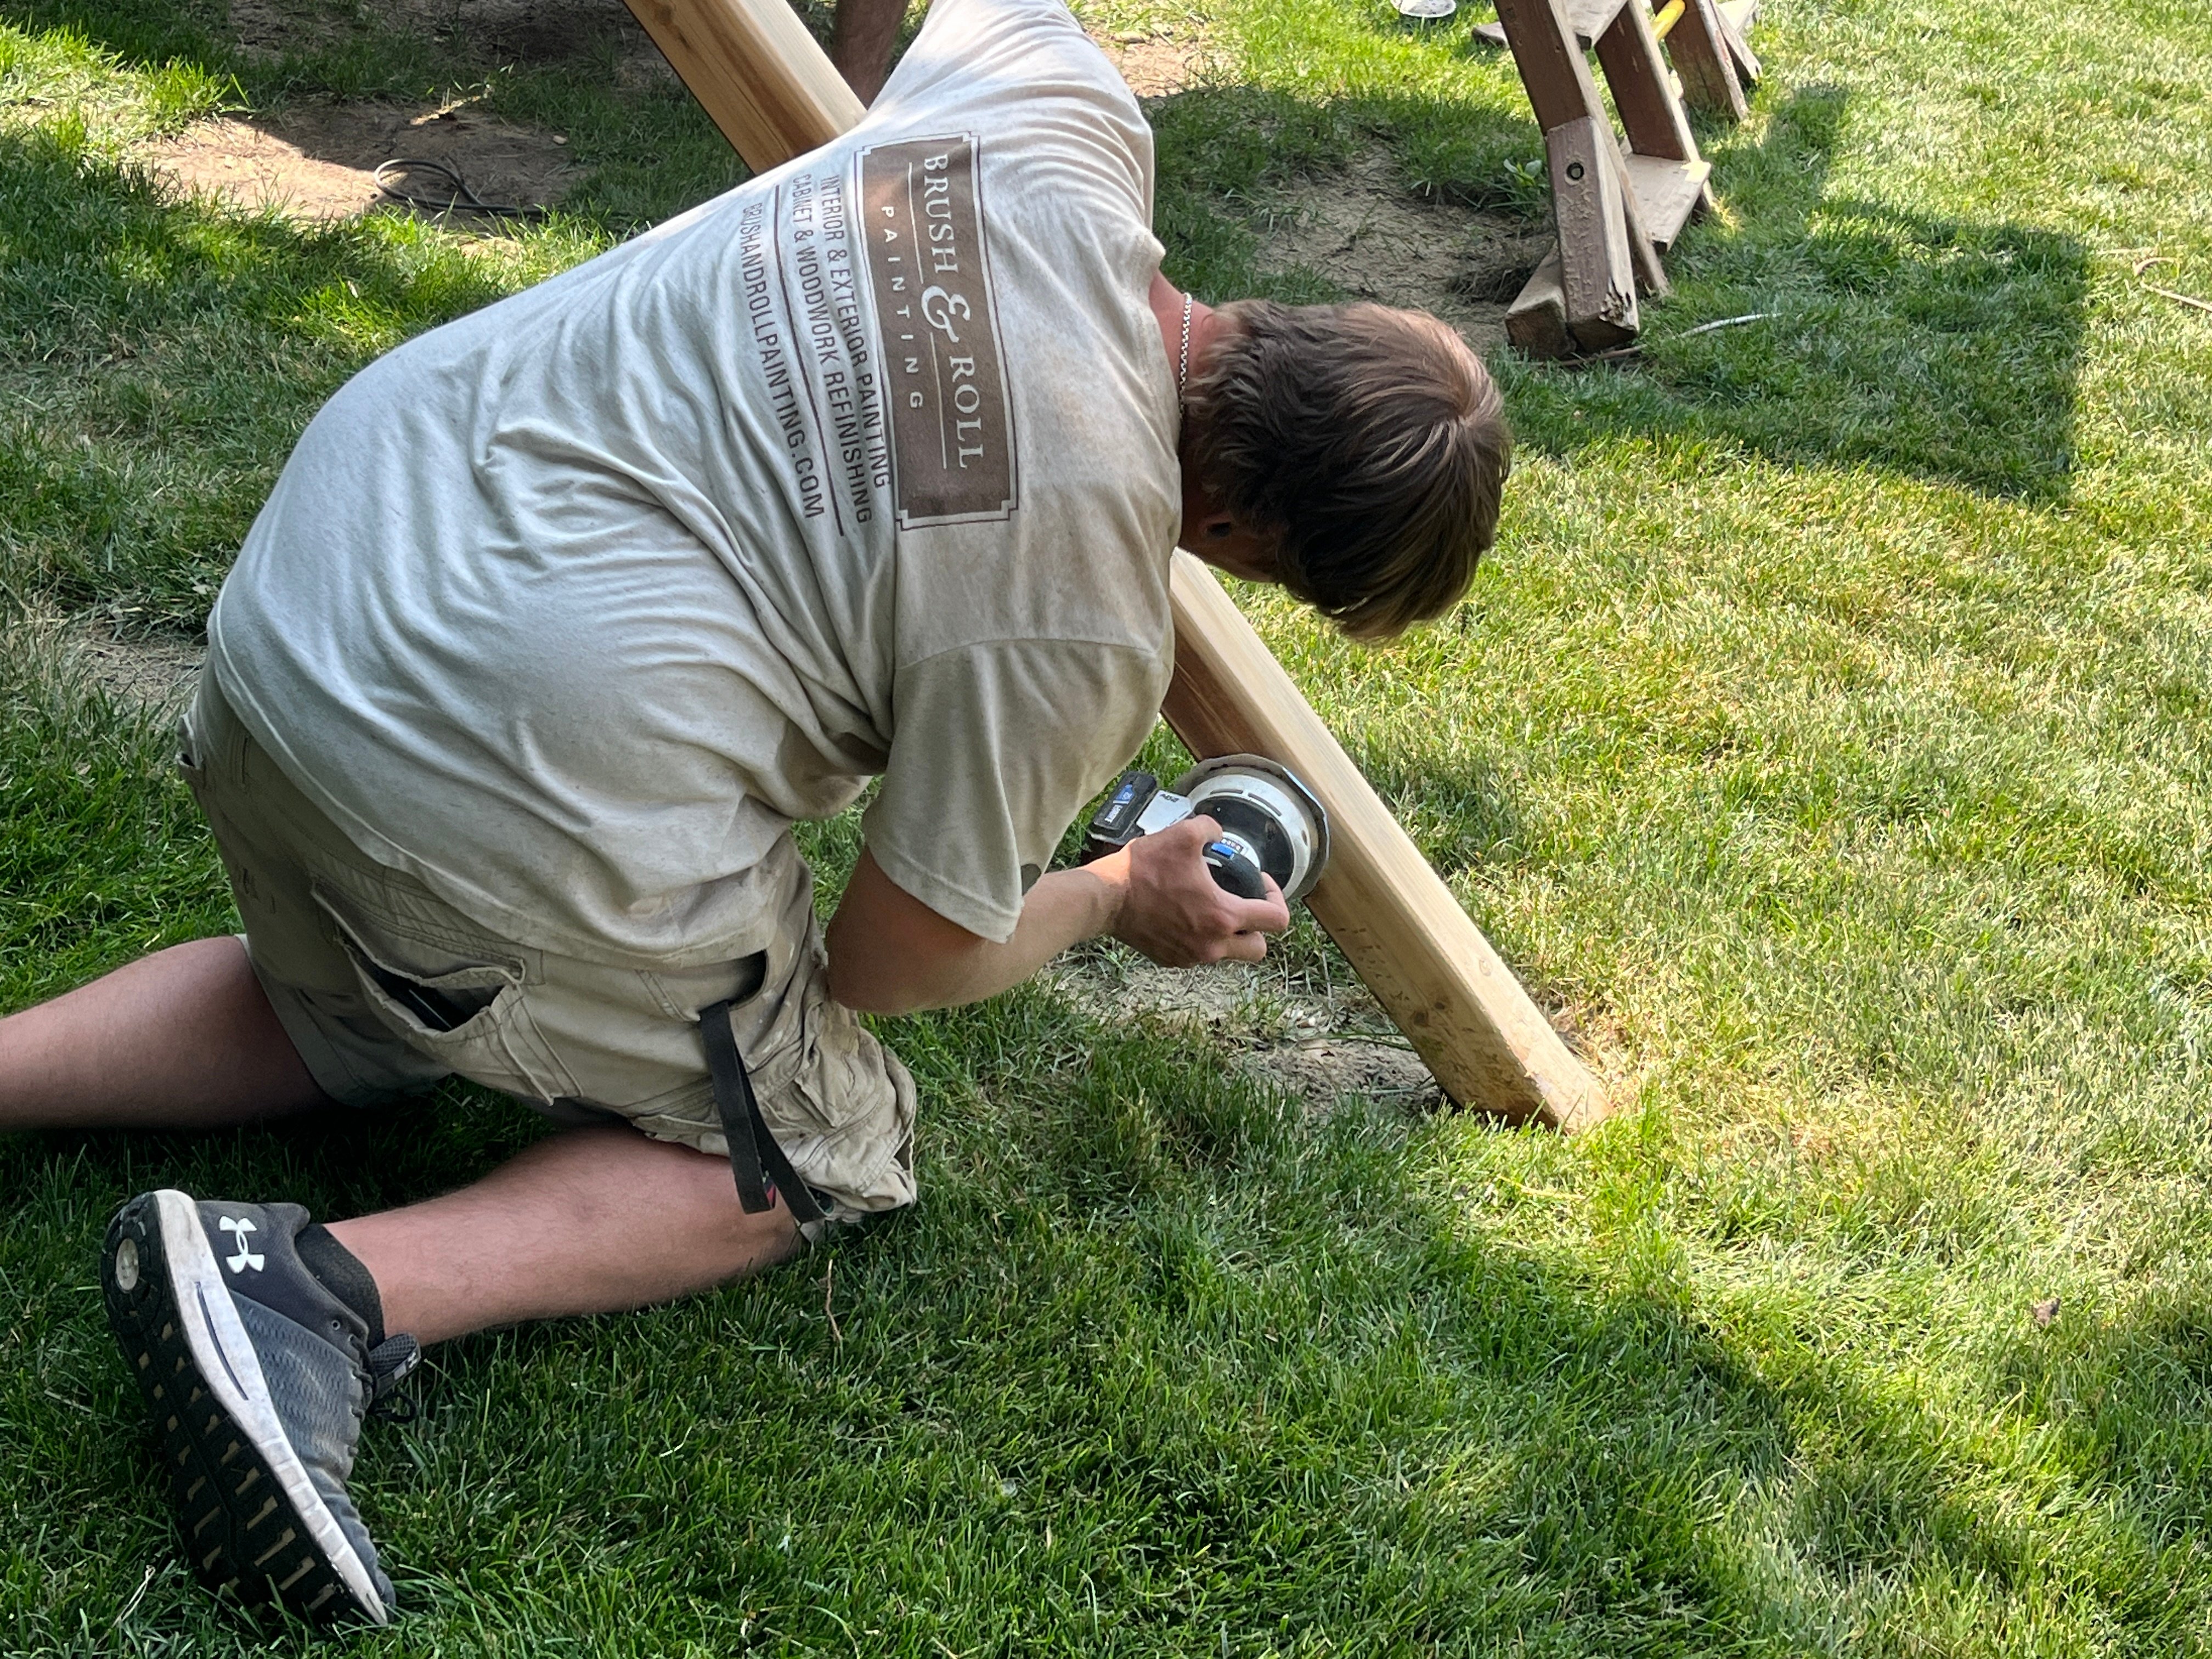
1. Clean The Fence First!
A dirty fence is no foundation for a paint job, certainly not one that you are going to want to last for a long time.
Just imagine the look that a fence would have if it were covered with dirt, to begin with, and then you took a dark blue paint and painted on top of that layer of dirt -- what would you get?
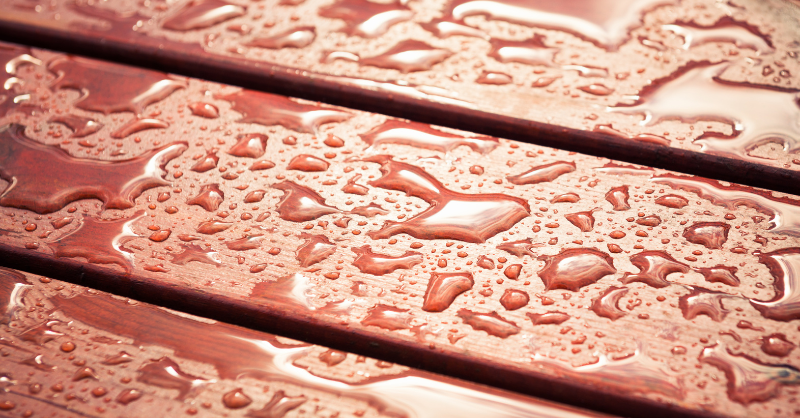
You would at best get a dark blue dirt-covered fence, which might look like a partially painted blue fence the next time a strong windy rain might roll through your neighborhood.
There are numerous ways to clean a wooden fence. Still, a recommended way is to use a pressure washer (carefully) to remove any of the dirt, grime, and even the mold and mildew that may have accumulated over time on your fence.
The reason we suggest caution with using a pressure washer is that if you are not careful and either use too much pressure or stand too close to the fence, it could cause long term damage to the fence.
2. Cover Anything Not Being Painted
The next step in the process is to protect things that aren't going to be painted, particularly if you are going to be using a spray painting technique to paint your fence.
This involves taking tarps and heavy drop cloths and covering the ground and any walls of your home that you do not want to be sprayed with paint.
Heavy drop cloth is particularly recommended for the ground near your fence as lighter weight material tends to shift and shuffle around as you walk on it, leaving the ground unprotected.
3. Prime The Fence
It's important that you prime the fence prior to painting it as you will want to give the wood a good seal.
The kind of primer that you will use is entirely dependent on what type of wood is used to make your fence, so you will want to do some research on what primer is best for your kind of wood.
In any case, using primer is certainly better than not using primer prior to painting your fence.
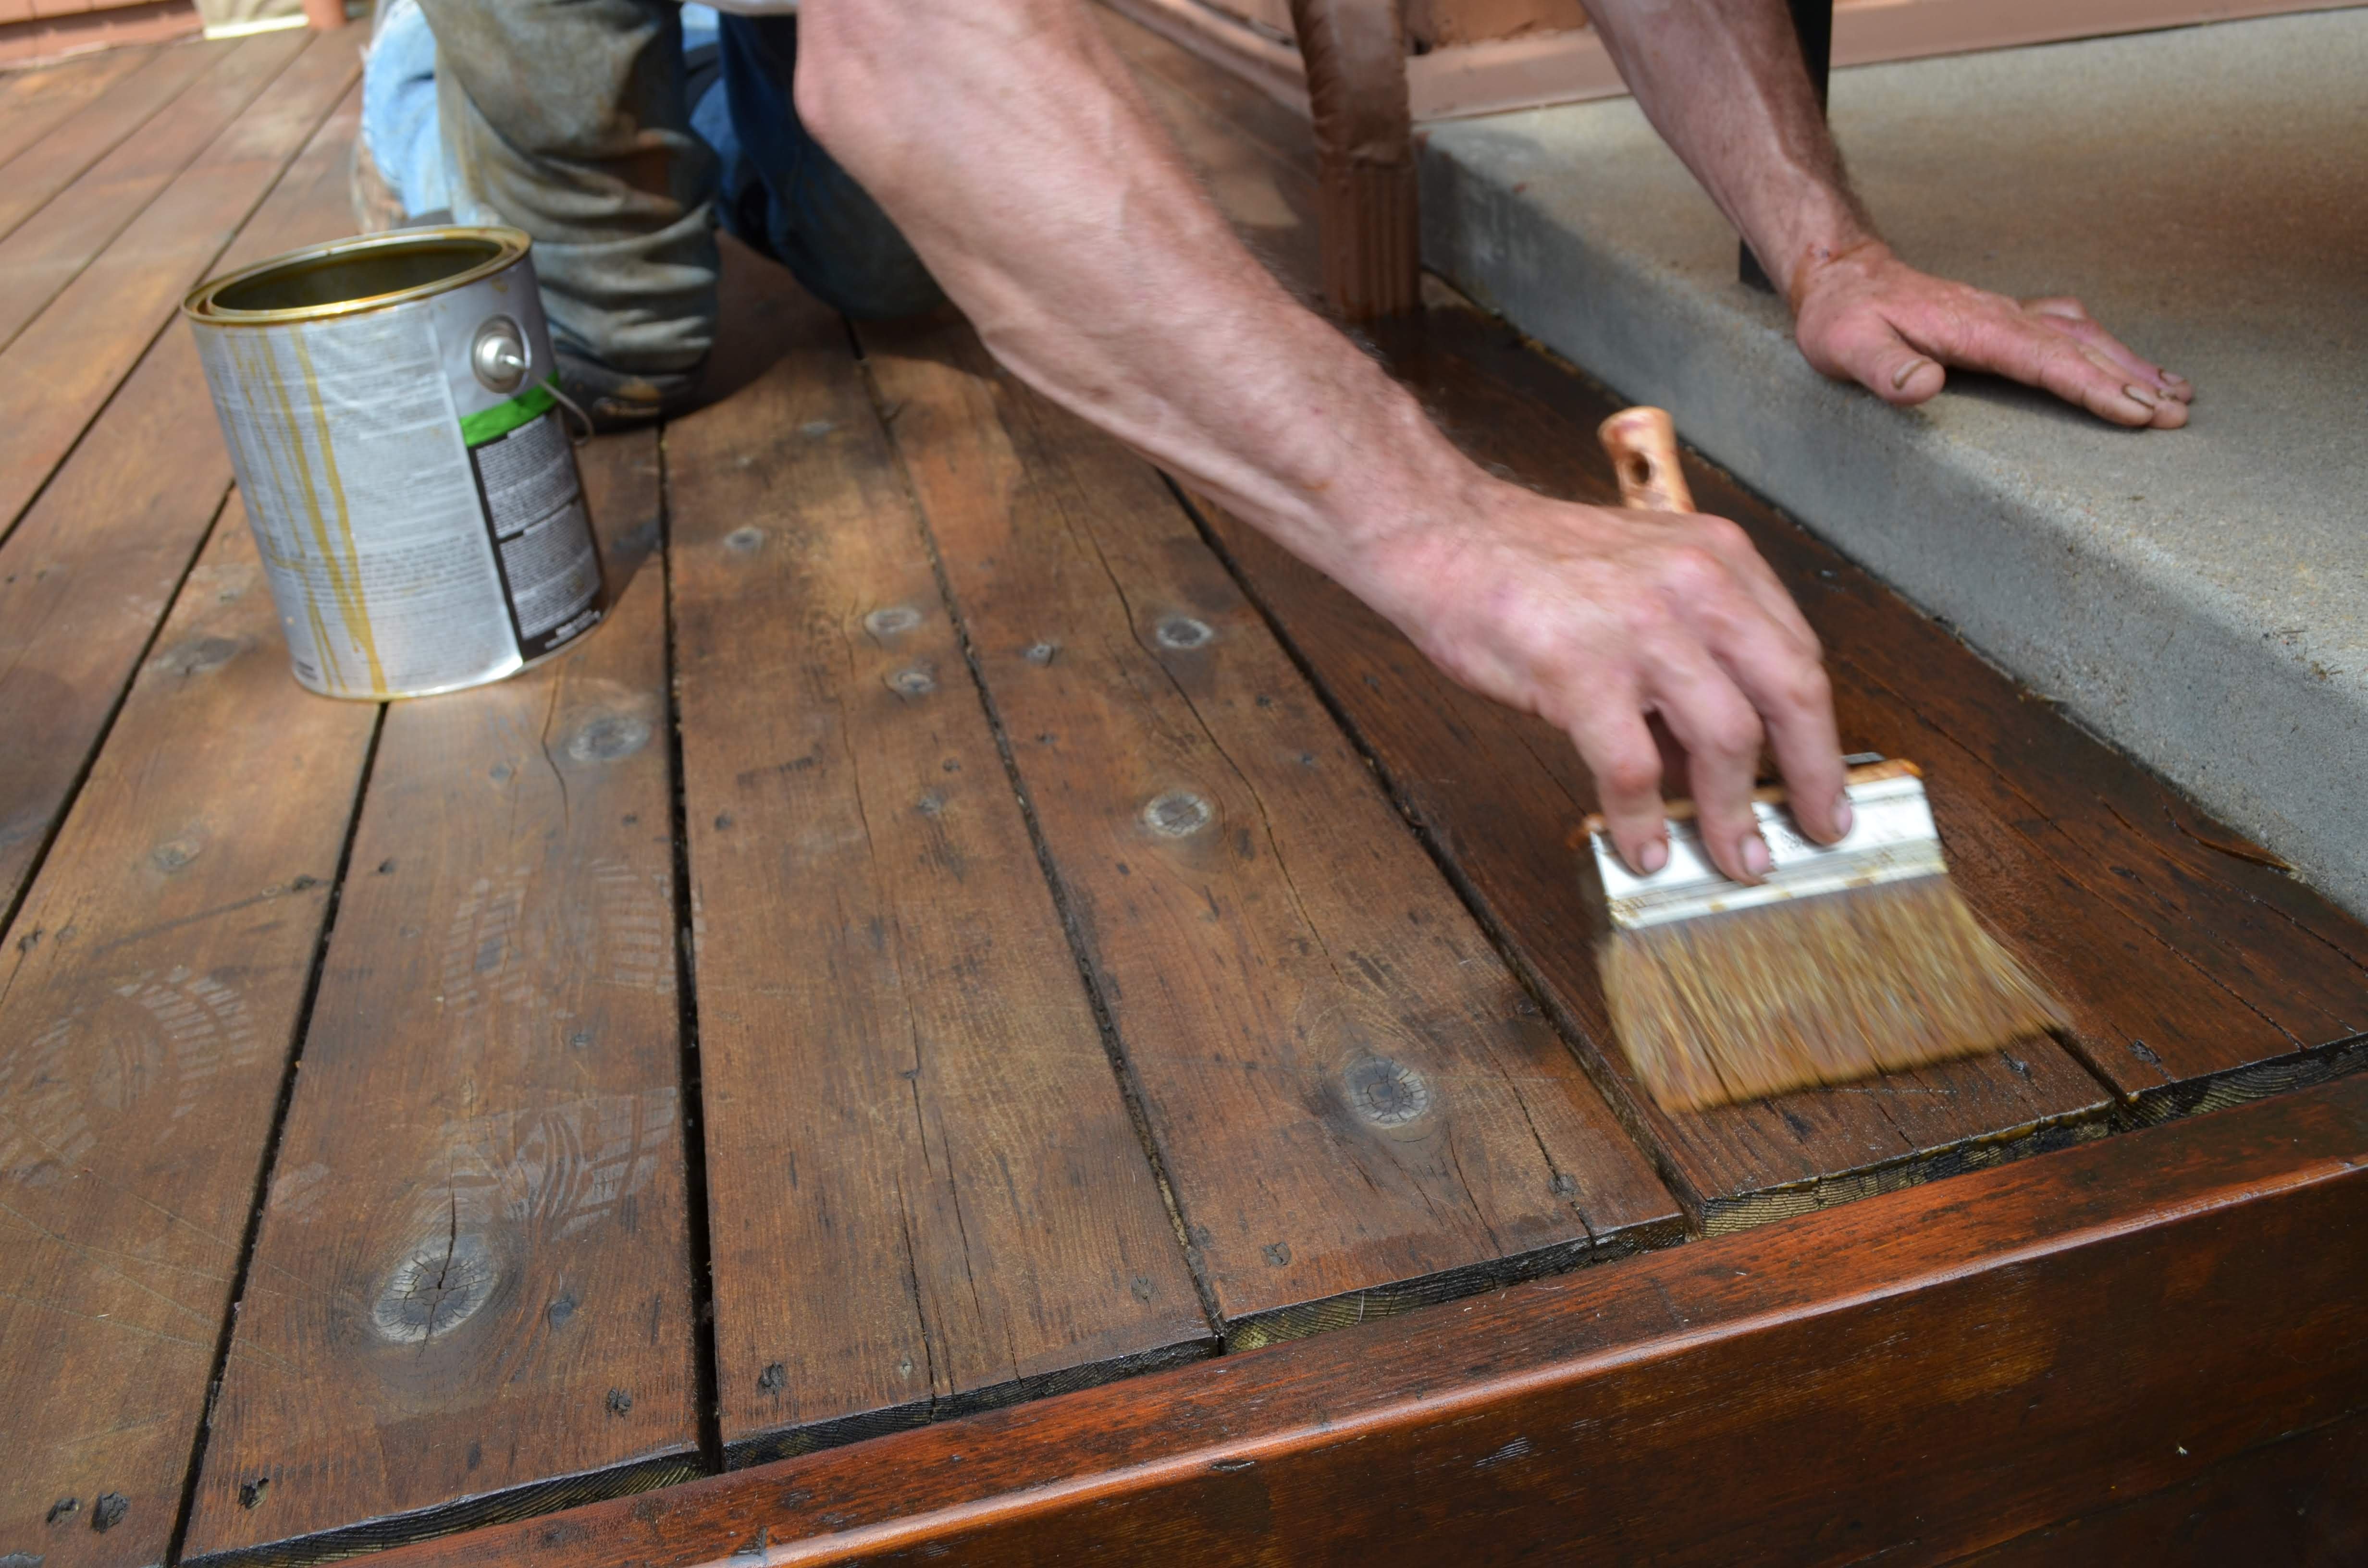
4. Paint Your Fence!
This is the last step in the process, and it can be one of the most complicated ones depending on how you choose to do it.
You can of course paint with a paint brush, which is a more time consuming process but is an easier way to do it.
On the other hand, you can use a spray painter to get the job done a bit faster (quite a bit actually) but the trick is that you have to learn the spray-painting process, which can be difficult for some to pick up.
If you need a professional to help you with your exterior painting in Omaha, NE, our team at Brush & Roll Painting can help.
To get started with us, book a FREE estimate below or call us on 402-932-9764 for more details.
Related: Hiring a Painting Contractor in Omaha, NE – 5 Things To Look For
Crucial Tips For Your Next Interior Painting Project In Omaha NE
Interior Painting Omaha, NE – Paint Color Ideas
Bill Carlson
Bill is the owner and operator of Brush & Roll Painting. Bill Carlson is a second-generation painter. He grew up working with his father’s painting and restoration company. After graduating from Bennington High School, he served in the US Navy, traveling with the boxing team. While this was a great opportunity to see the world, it also made him realize how much he loved his little world here in Nebraska. He settled back into the painting industry, working with his brother. It wasn’t long before Bill’s entrepreneurial spirit pushed him to start his own business. Always one for a challenge, he longed to prove to himself that he could be as successful on his own as both his dad and brother were.


-1.png?width=800&height=418&name=Blog%20Post%20Image%20Size%20(7)-1.png)


-Jul-23-2025-02-21-33-5468-PM.png?width=800&height=418&name=Blog%20Post%20Image%20Size%20(2)-Jul-23-2025-02-21-33-5468-PM.png)
-Nov-06-2024-10-28-07-6666-PM.png?width=800&height=418&name=Blog%20Post%20Image%20Size%20(3)-Nov-06-2024-10-28-07-6666-PM.png)
