If your deck is looking faded, patchy, or just plain worn out, you're probably wondering if it’s time to re-stain it. But as you start researching, one big question keeps popping up—do you need to remove the old stain first? Some say yes, others say no, and the confusion only grows. You want the new stain to last, but you also don’t want to create more work (or expense) than necessary. This question can feel like the biggest hurdle before even starting.
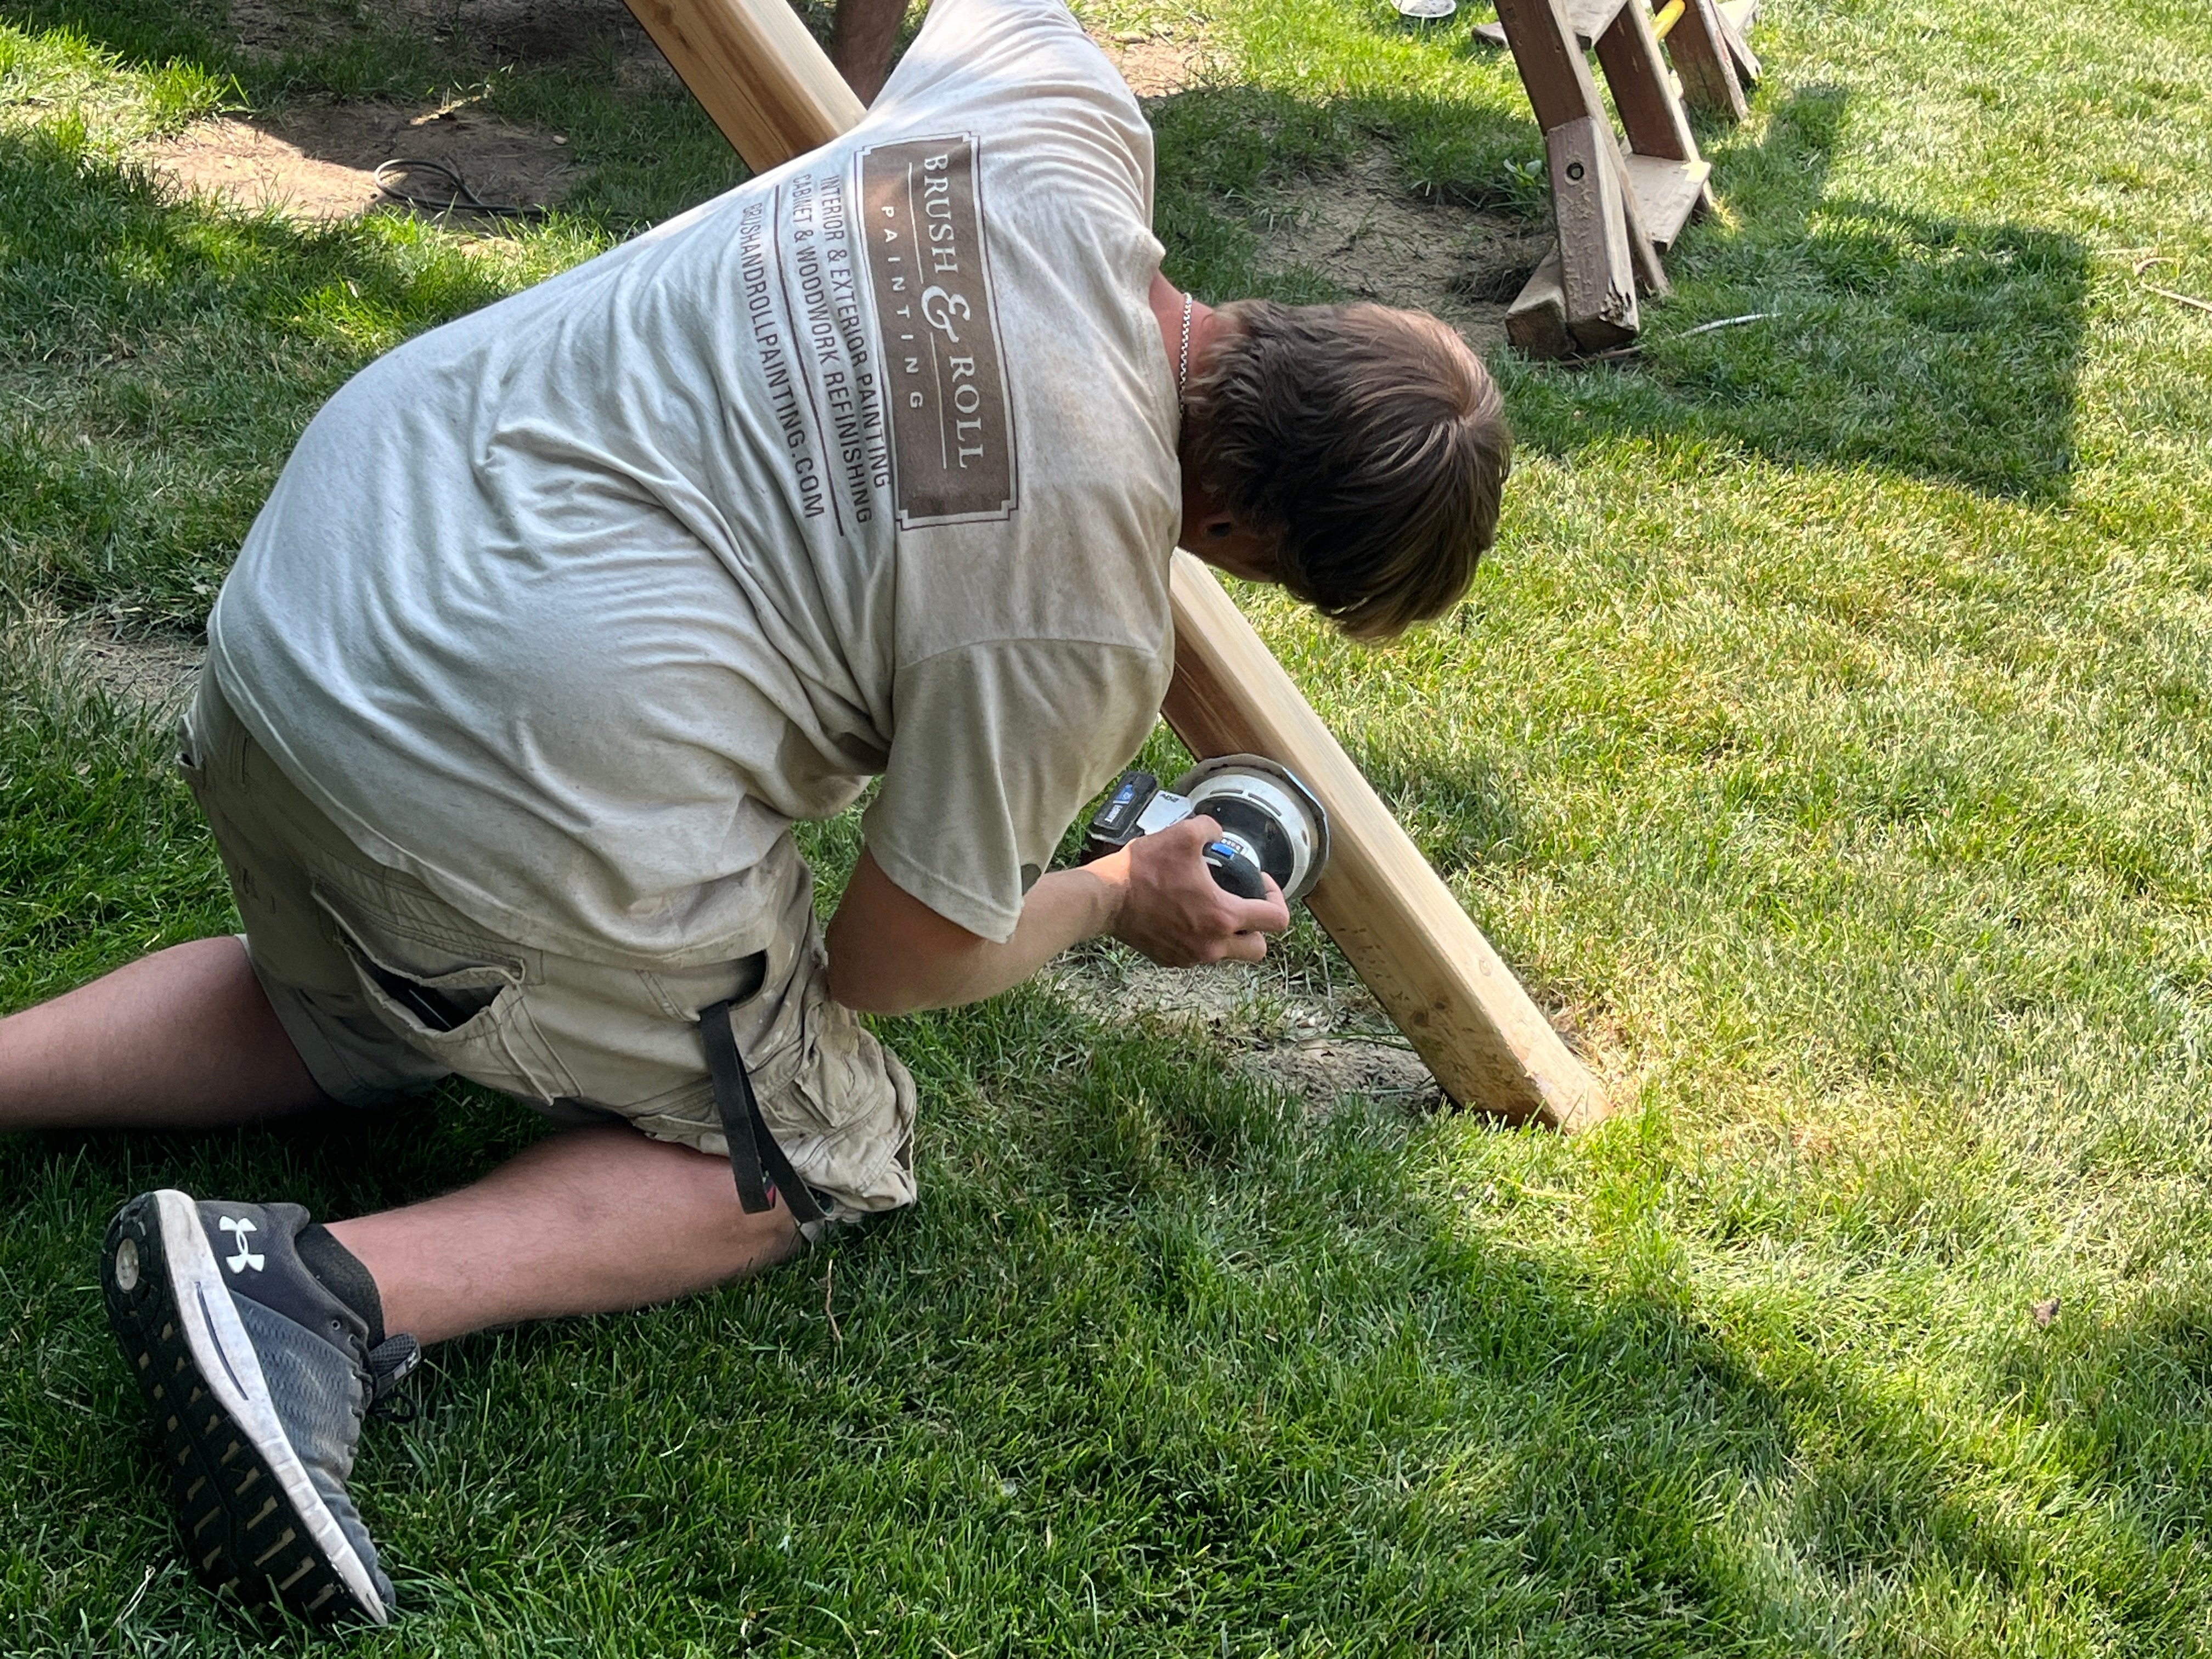
At Brush & Roll Painting, we've been staining decks for homeowners across Omaha since 1996. We've worked on everything from newer pressure-treated decks to older cedar structures with years of wear and multiple layers of stain. We’ve seen what happens when prep is skipped, and we’ve seen how long a deck can last when it's done right. So, when we answer this question, it’s based on decades of firsthand experience.
This article will walk you through when you need to remove deck stain before re-staining and when you don’t need to. You’ll learn how to tell what type of stain is currently on your deck, what condition it's in, and what methods can be used for prep work. Whether you're hiring a painter or doing it yourself, you'll walk away knowing what steps are necessary to get a durable, even, and professional-looking finish.
Understanding the Types of Deck Stains
Before you can decide whether or not the old stain needs to come off, it helps to understand what type of stain was used in the first place. There are three main types:
- Solid Stain: Looks like paint and sits on top of the wood. It hides the grain and gives full coverage.
- Semi-Solid: Semi-solid stains land somewhere in the middle when it comes to coverage and transparency. They hide more of the wood grain than a semi-transparent stain, but not as much as a solid stain.
- Semi-Transparent Stain: Shows some wood grain and soaks into the wood but still adds color.
- Clear or Transparent Stain: Offers a natural look with minimal color and just a hint of tint or none at all.
Each of these behaves differently over time, and that plays a big role in how you should approach re-staining.

Do You Need to Remove the Old Deck Stain?
Short answer: It depends. Let’s walk through when you do and when you don’t.
1. When the Old Stain is Peeling or Flaking
If the existing stain is peeling, cracking, or flaking off all over the wood, it absolutely needs to be removed. Applying a new stain over a failed stain will only lead to the same problem down the road. The new stain won’t be able to bond properly, which means it’ll lift sooner, often in just a season or two.
You’ll want to sand or strip the deck to get back to a stable surface. In most cases, sanding is the most effective way to remove loose stain and get the surface smooth again.
2. When You're Switching Stain Types
- If you're going from a solid stain to a semi-transparent or clear stain, you’ll need to remove the old solid stain completely. That’s because solid stains block the grain, and you won’t get the transparent look you’re going for unless all of that solid coating is gone.
- If you're going from a semi-transparent to a solid, you can usually go right over the old stain, as long as it’s still in good shape. A solid stain will cover what’s underneath.
- If you're using the same type and color of stain, and it’s still holding up fairly well (no peeling or mold), you may just need a cleaning and light scuff sanding.

How Do You Remove Deck Stain?
There are a few ways to do it, and the right one depends on your situation.
Power Sanding
This is often the best option, especially for solid stains or peeling finishes. It removes stains mechanically and smooths the surface for better adhesion. It takes time, but the results are worth it.
Keep in mind:
- Use a belt sander or floor sander for large areas.
- Orbital sanders are helpful for smaller spaces and railings.
- Always sand with the grain of the wood.

Chemical Strippers
These work by softening the stain so it can be rinsed or scraped off. They can be useful in intricate areas where sanding is tough.
Things to consider:
- Strippers can be messy and have a strong odor.
- You may need to neutralize the wood afterward with a deck brightener.
- They don’t always remove all of the old stain in one go.
Pressure Washing
This is often used in combination with the above two methods. It helps remove loose stain, dirt, and mildew.
But:
- Pressure washing alone usually won’t remove deep-set stains.
- Too much pressure can damage the wood, especially softer woods like cedar or pine.
- After washing, allow 48 to 72 hours of dry time before sanding or staining.

What Happens If You Skip This Step?
Applying stain over a deck that hasn’t been properly prepped will almost always lead to early failure. Here’s what can happen:
- Peeling – The new stain lifts right off, especially in high-traffic areas.
- Blotchy Finish – The color looks uneven and patchy.
- Shorter Lifespan – You may need to re-stain again in just a year or two.
- Water Damage – If the stain doesn’t absorb well, moisture can seep into the wood, leading to rot.
Watch this video to learn about the steps to staining a wood deck.
How to Prep Your Deck for Staining the Right Way
Whether you’re doing it yourself or hiring a pro, these are the steps that lead to a long-lasting finish:
- Inspect the deck – Look for peeling stain, damaged boards, or mold growth.
- Clean thoroughly – Use a deck cleaner to remove dirt and mildew.
- Let it dry completely – At least 1-2 days of dry weather.
- Strip or sand as needed – Based on the type and condition of the current stain.
- Apply stain properly – Back-brushing is key. It forces stain into the wood grain for even coverage.
- Use the right number of coats – One coat is usually enough for transparent stains. Two may be needed for solid stains or older wood.
Deck Staining in Omaha, NE
In many cases, you don’t need to completely remove the old stain before applying new, but you definitely need to sand, no matter what. If the stain is peeling all over, you’re switching types of stain, or water no longer absorbs into the wood, removal is a must. On the other hand, if the current stain is still in good shape and you’re applying a compatible product, you may be able to clean and recoat without full removal.
Brush & Roll Painting has seen it all here in Omaha. We've worked with all types of stains, wood species, and weather conditions since 1996. We’ve found that prep work is the difference between a deck that lasts and one that needs to be redone too soon.
If you’re ready to take the next step, click the button below to get a quote for your deck staining project.

Want to stay organized? Whether you’re hiring a professional or planning to do it yourself, download our free Deck Staining Project Checklist. It’s a simple, step-by-step guide that walks you through the entire process and helps you avoid the common mistakes we see all the time.

Topics: