Quick tips on how to choose a stain for your kitchen cabinets
May 4th, 2019
2 min read
By Bill Carlson

When it comes to refinishing your kitchen cabinets, you have an option to apply paint or stain. Paint generally leaves cabinets with a smooth, opaque finish, while staining them enhances the wood grain and adds natural warmth to the room. Before staining, the surface should adequately be prepared by sanding, stripping, and cleaning for better stain adherence.
Unlike painting, staining doesn’t give you a variety of options when it comes to color unless you’re sticking with solid stains. The type of stain you choose will largely depend on the effect you want to create and the type of wood you’re refinishing.
Here are some tips to help you choose the right stain for your kitchen cabinet that will make your kitchen one of your favorite rooms.
Know the Types of Stains
Stains generally vary from opaque options which come in a variety of colors that you can use for decorative purposes to transparent, to clear stains that are the lightest with no color. In between that, you will find semitransparent stains.
Opaque stains generally don’t soak deep into the wood grain; rather, they form a coating on the top of the surface, more like paint. Clear and semi-transparent stains, on the other hand, soak into the wood, don’t cover the wood grain and tend to edge gracefully.
Other classifications of wood stain include:
• Alcohol-based stains: dry faster than other types of wood stains.
• Oil-based stains: similar to alcohol-based stains and relatively quick to dry.
• Water-based stains: they tend to penetrate wood deeply and reduce streaks and blotches.
• Wax-based stains: are similar to water-based stains, but they leave a glossy finish.
• Protective wood stains: they contain polyurethane or an element of lacquer
Choosing the Stain Color
This is probably the most common mistake homeowners and DIY enthusiasts make when it comes to applying solid and semi-transparent stains. So before committing yourself, test a small amount of stain on a leftover cabinet board, if available, or in an inconspicuous area, such as the inside of a cabinet door.
If you’re targeting to match the cabinet stain color with your wood trim, for instance, it can be difficult without prior testing. One brand’s ‘Burned Red” might be darker than another manufacturer’s “Burned Red” even if they bear the same name. If you have a scrap board, take it with you to the paint store and request them to apply a variety of stain samples which you can then compare with your other woodwork when you get back home.
Apply Contrast
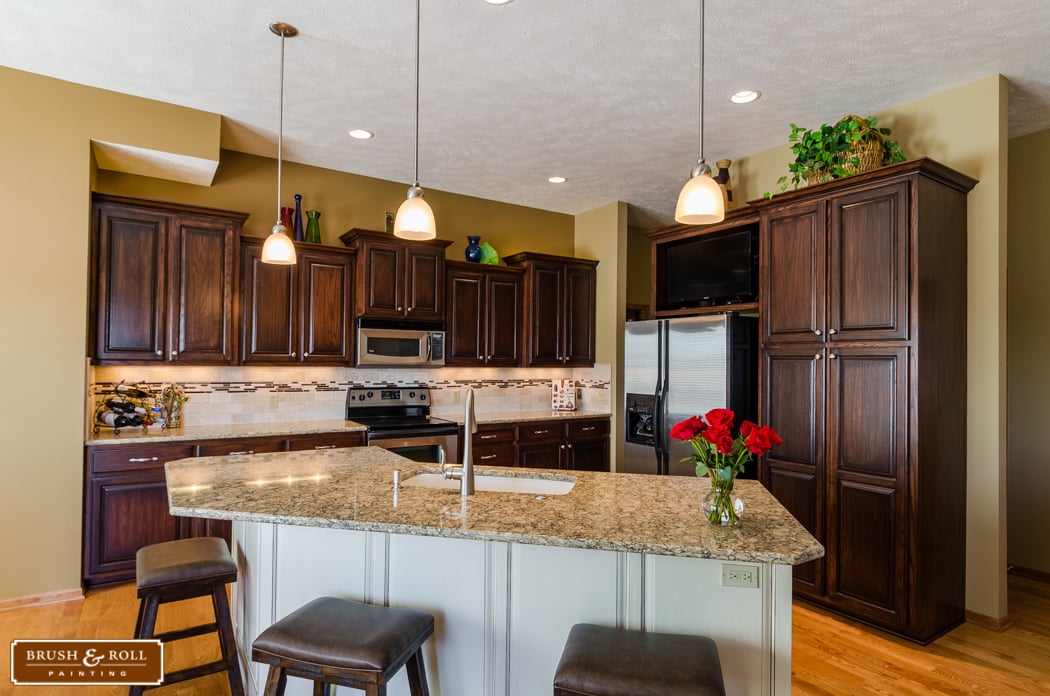
Instead of just applying one type of stain color, consider mixing different type of stains on your set of cabinets to create a unique look. Diversity is always a welcome idea when it comes to wood. Mixing colors, wood grains, textures, and stains throughout a room will keep your kitchen from looking dull. Just try to be consistent.
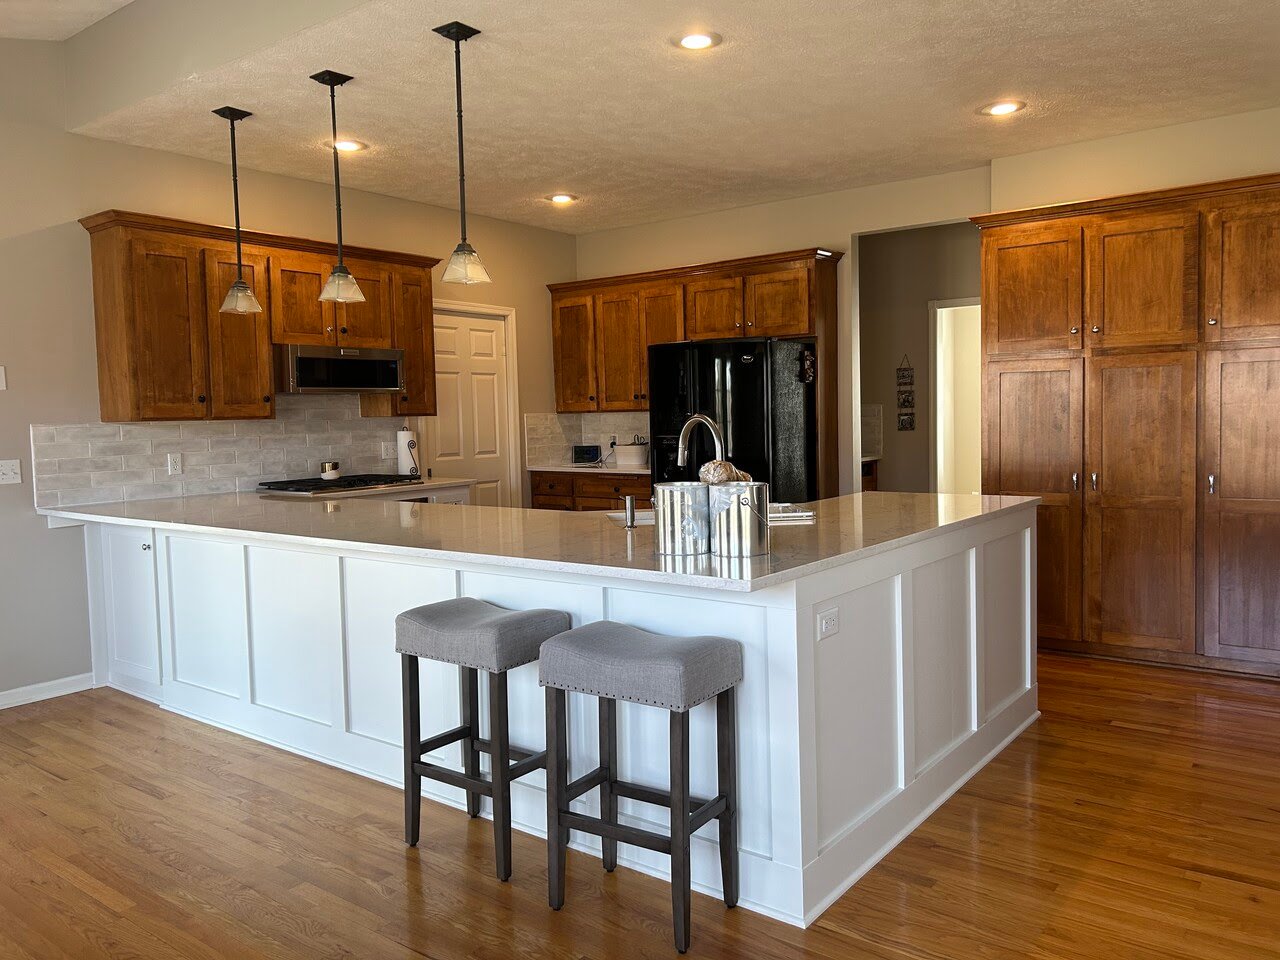
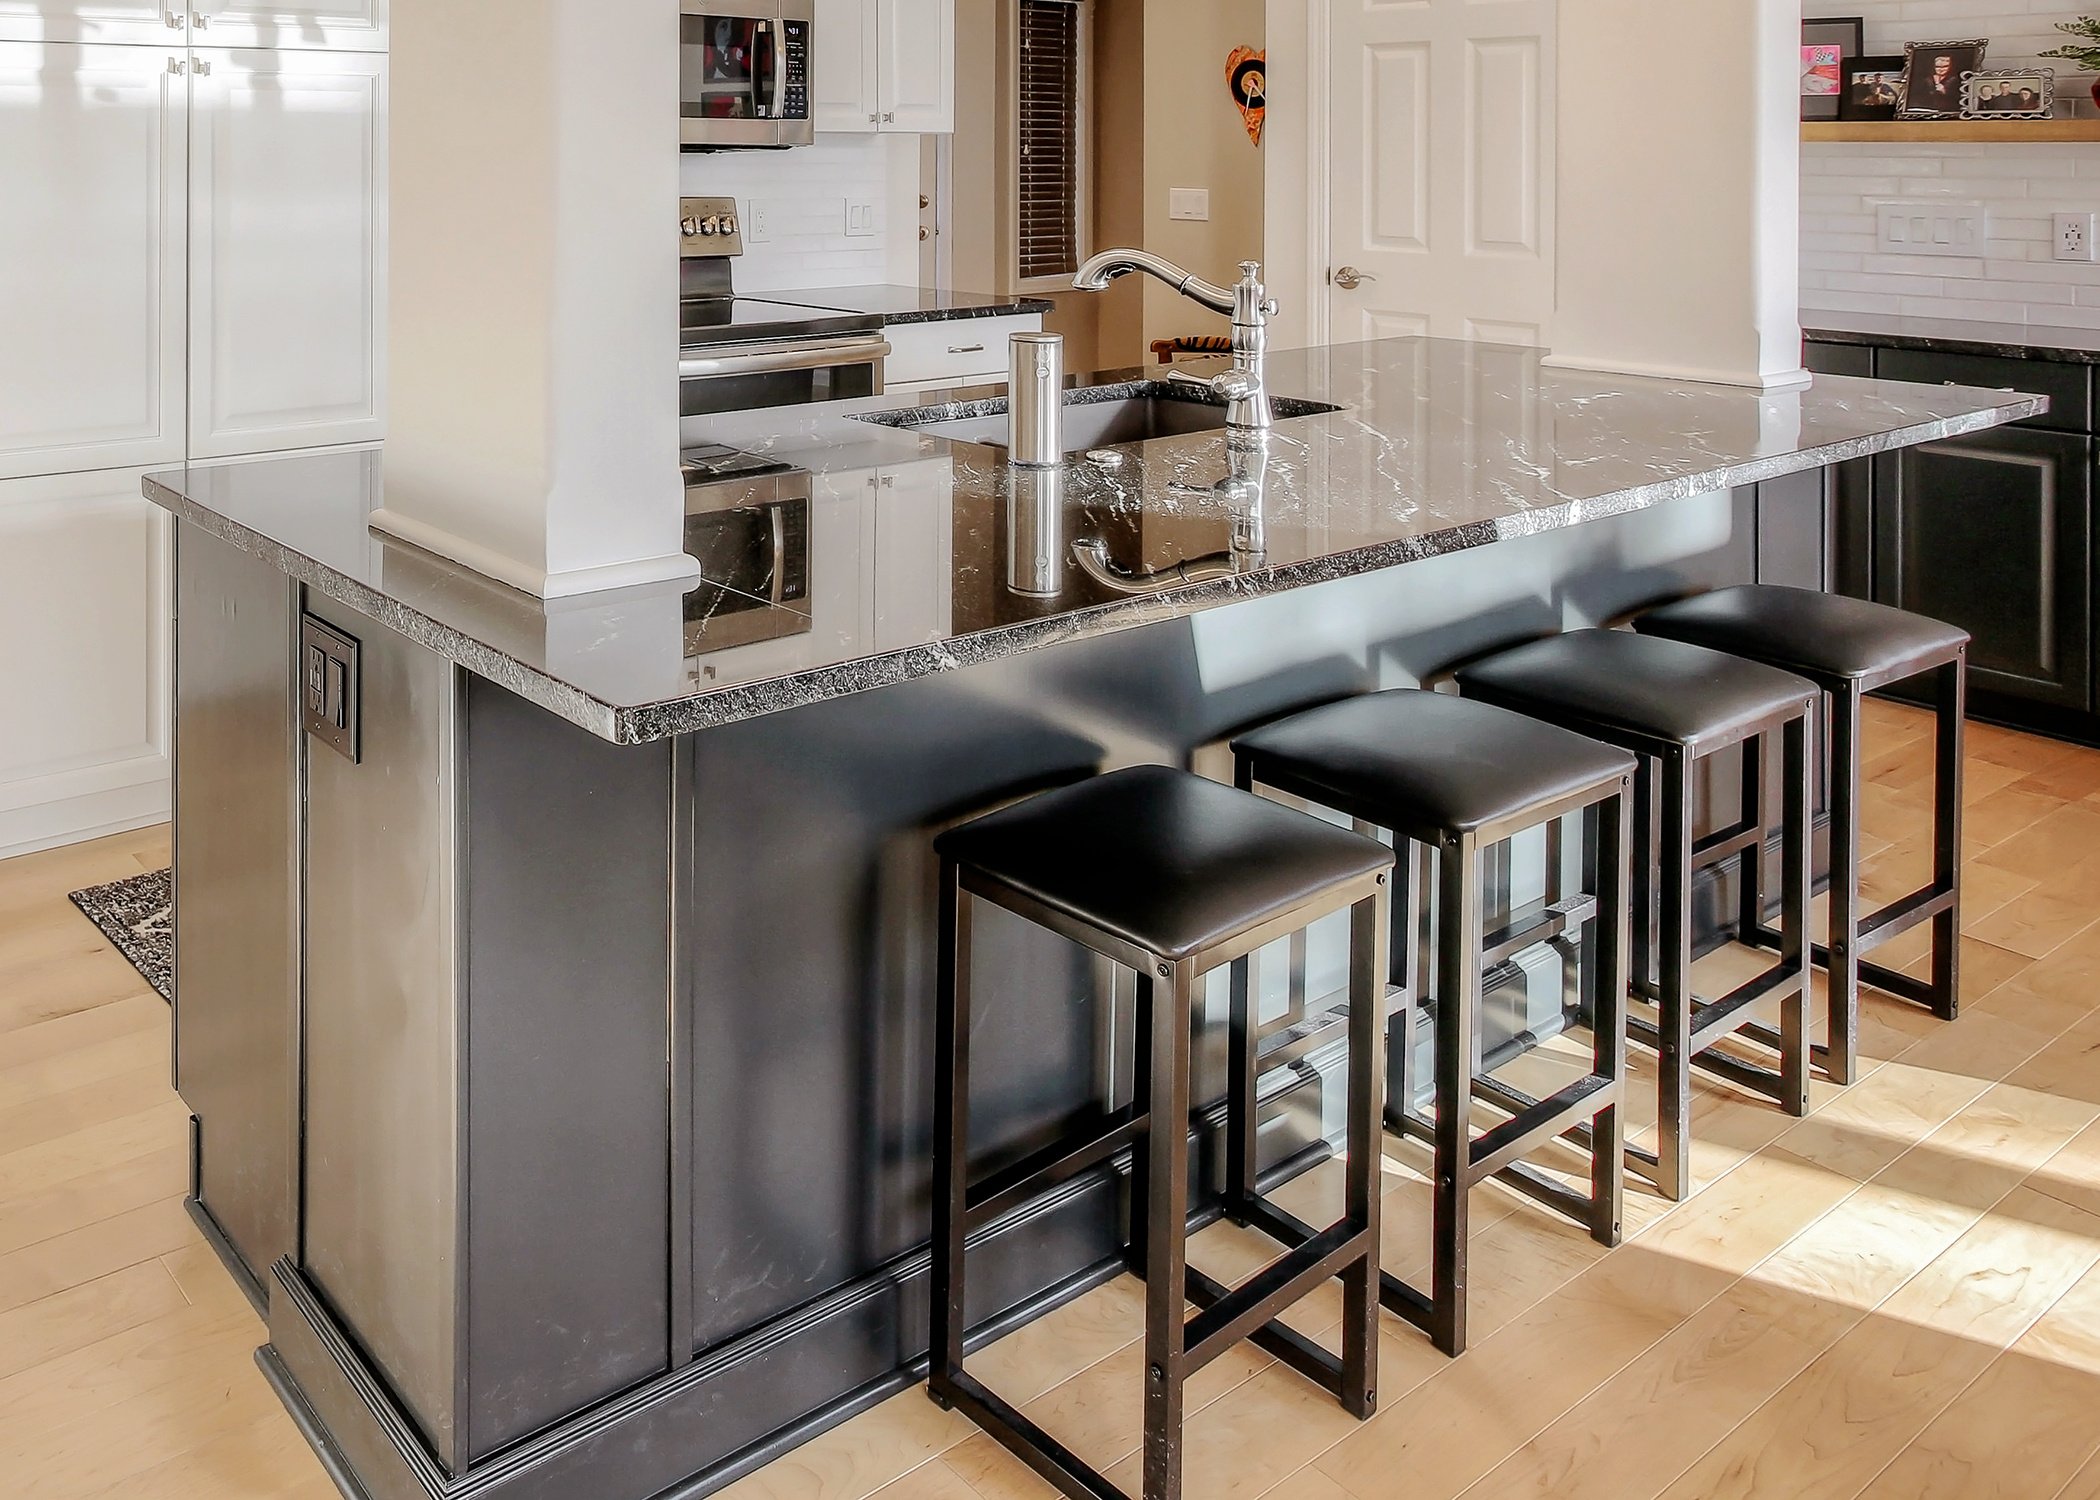
Alternatively, you can contrast your kitchen cabinet stain color with your wall or floor color. If you choose a dark stain for your cabinets, for instance, you can make your floor lighter, and for the light stained cabinets, do the reverse. Keeping the contrast consistent throughout the kitchen will make your mix look more deliberate rather than scrambled.
Let the Grain Come Out
When you have a particularly interesting wood, you want the grain to show up. In this case, applying wax or oil-based clear stain will highlight the wood’s natural character while keeping the wood protected.
Bottom Line
Staining your kitchen cabinets is an inexpensive and effective way of restoring their looks and extending their durability. However, if the subject of choosing the stain still sounds tricky, you should consider hiring a local cabinet refinishing company in Omaha, Nebraska to help with color choices and the entire staining process.
Bill is the owner and operator of Brush & Roll Painting. Bill Carlson is a second-generation painter. He grew up working with his father’s painting and restoration company. After graduating from Bennington High School, he served in the US Navy, traveling with the boxing team. While this was a great opportunity to see the world, it also made him realize how much he loved his little world here in Nebraska. He settled back into the painting industry, working with his brother. It wasn’t long before Bill’s entrepreneurial spirit pushed him to start his own business. Always one for a challenge, he longed to prove to himself that he could be as successful on his own as both his dad and brother were.
Topics:


