How Long Should You Wait Between Paint Coats?
January 24th, 2025
5 min read

Painting a room might seem like a quick and easy weekend project—slap some paint on the walls, and by the evening, it’s ready for furniture. But if you’ve ever tried to paint a wall and ended up with uneven coverage, streaks, or peeling paint, you know that achieving a professional-looking finish takes more time and care. A crucial part of this process is knowing how long to wait between coats of paint and understanding how the quality of your paint plays a role.
At Brush & Roll Painting, we’ve been helping homeowners in Omaha, NE achieve flawless, long-lasting results for years. While we usually apply the paint, we want to help all homeowners transform their homes into spaces they will love.
In this article, we’ll clear up the confusion around wait times, explain why they matter, and share how choosing high-quality paint can save you time and effort while ensuring your next painting project turns out beautifully.
Why Waiting Between Paint Coats Is So Important
Rushing through a painting project might seem like a good idea when you just want to get it over with. But skipping or shortening the wait time between coats can lead to:
- Uneven Coverage: Fresh paint applied too soon can lift the first coat, leaving patchy or streaky areas.
- Peeling and Bubbling: Layers of paint that don’t fully dry can trap moisture, causing peeling or bubbles to form over time.
- Extended Drying Time: Instead of speeding things up, piling on paint too quickly often makes the whole wall take longer to dry properly.
The quality of the paint you choose has a significant impact on all of these outcomes. High-quality paints are formulated to dry more efficiently and often provide better coverage, reducing the need for multiple coats. On the other hand, low-quality paints may dry unevenly, take longer, and require extra coats to achieve the desired look.
.png?width=637&height=333&name=Blog%20Post%20Image%20Size%20(14).png)
Factors That Affect Drying Time Between Paint Coats
The amount of time you should wait depends on several factors, including the type and quality of the paint:
1. Type of Paint
- Latex (Water-Based) Paints: These are popular for interior walls because they dry quickly, typically within 1-2 hours. High-quality latex paints often dry even faster and provide better coverage with fewer coats. Low-quality latex paints, however, may take longer to dry and might require more applications to cover imperfections.
- Oil-Based Paints: These take longer to dry, usually requiring 6-8 hours before they’re ready for another coat. High-quality oil-based paints tend to provide a smoother finish with fewer coats, while low-quality options might necessitate additional layers to achieve the same result.
2. Humidity and Temperature
Paint dries slower in humid conditions or cooler temperatures. High-quality paints, which are engineered for better performance, often handle these conditions better, reducing overall drying time. Omaha homeowners might notice this in the spring and summer when humidity levels are higher. To speed up drying, try:
- Running a dehumidifier in the room.
- Using fans to increase air circulation.
- Painting in a climate-controlled environment when possible.
3. Paint Sheen
Higher-sheen paints (like semi-gloss or gloss) take longer to dry than matte or flat finishes. High-quality paints in these finishes often dry more evenly and require fewer coats, whereas lower-quality options may need extra time and application to achieve the same smooth look.
4. Surface Type
Porous surfaces, like new drywall or unprimed wood, absorb more paint and might need longer drying times between coats. Using a high-quality primer and paint can mitigate this issue, while low-quality paint might struggle to provide even coverage and durability.

The Step-by-Step Guide to Properly Timing Your Paint Coats
Follow these steps to ensure the best results for your painting project:
Step 1: Prep the Surface
Before painting, clean and prep the walls thoroughly. Remove dirt, grease, or loose paint, and fill in any holes or cracks. High-quality paints adhere better to a well-prepped surface, which helps them dry evenly and quickly.
Step 2: Prime (If Needed)
If you’re painting over dark colors, bare wood, or new drywall, apply a primer first. Using a high-quality primer ensures better adhesion and coverage, reducing the number of coats needed. Low-quality primers might require additional layers to achieve the same result.
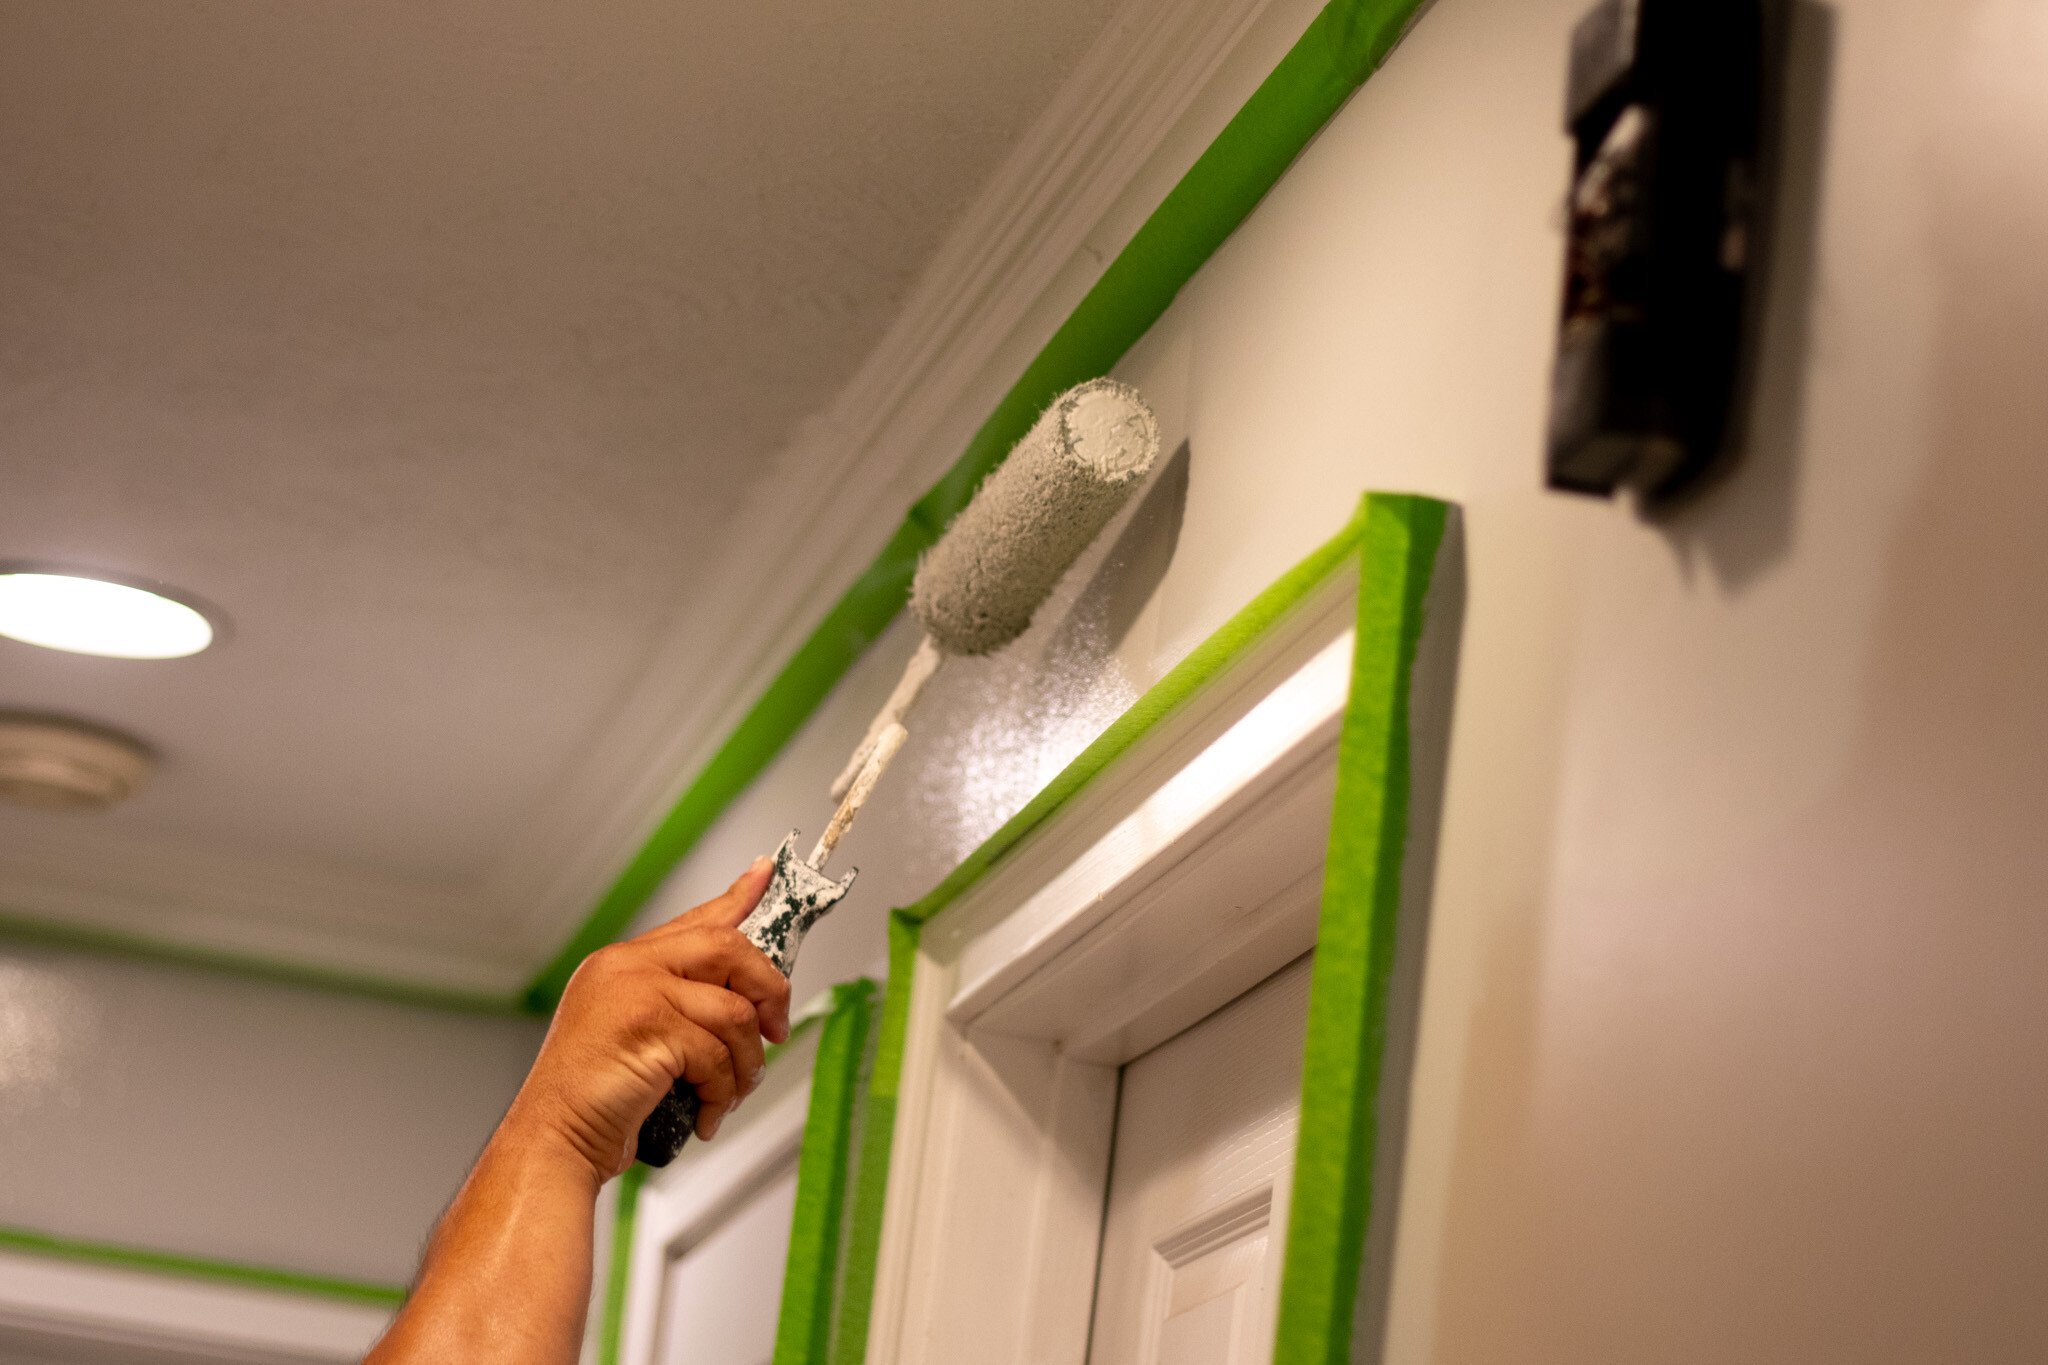
Step 3: Apply the First Coat
Use a high-quality roller and brush to apply the first coat evenly. High-quality paints spread more smoothly, dry faster, and often require less product to achieve complete coverage. Low-quality paints appear streaky or patchy, necessitating extra time and effort.
Step 4: Wait
Check the paint can for specific drying time recommendations. High-quality paints typically dry within the suggested time frames, while low-quality options may take longer. For latex paints, wait at least 4 hours; for oil-based paints, wait 6-8 hours or overnight.
To test whether the paint is dry, lightly touch a hidden spot. If it feels dry to the touch and doesn’t smudge, it’s ready for the next coat.
Step 5: Apply the Second Coat
Apply the second coat using the same technique as the first. High-quality paints often make this step quicker, as they provide consistent coverage and dry more predictably. Low-quality paints might require additional coats to achieve the same smooth, even finish.
Step 6: Wait (Again)
If your project requires additional coats, repeat the waiting process. High-quality paints reduce the likelihood of needing extra coats, while low-quality paints may demand more patience and effort.
Tips for Omaha Homeowners Painting Their Interiors
- Start Early in the Day: Painting in the morning gives the first coat time to dry while there’s still plenty of daylight for the second coat.
- Keep a Consistent Temperature: Indoor temperatures of 65-75°F are ideal for drying paint. High-quality paints are more forgiving of minor temperature variations.
- Plan Ahead: If you’re painting multiple rooms or areas, stagger your work so you can move between them as coats dry.
Sometimes, you need to finish a project quickly. While cutting corners on dry time isn’t recommended, here are a few ways to speed things up:
- Use high-quality quick-dry or specialty paints designed for faster application.
- Work with multiple people to tackle larger areas more efficiently.
- Focus on proper ventilation by opening windows or using fans.

Common Questions About Waiting Between Paint Coats
Can You Paint Too Soon?
Yes. Painting too soon can cause issues like peeling, bubbling, or streaking. High-quality paints minimize these risks by drying more efficiently and adhering better.
Does the First Coat Have to Be Perfect?
No. The first coat serves as a base and might look uneven. With high-quality paint, you may be able to just do one coat, while low-quality paints might require 2 to 4 coats to achieve a uniform look.
What Happens If You Wait Too Long?
Waiting longer than recommended between coats generally isn’t a problem. However, if you wait weeks or months, you might need to lightly sand the surface to ensure proper adhesion. High-quality paints tend to maintain their readiness for additional coats better than low-quality options.
How Long to Wait Between Paint Coats for a Perfect Finish
Painting your home is a rewarding process, but the key to a smooth, lasting finish is patience and choosing the right materials. High-quality paints dry faster, require fewer coats, and make the entire project more manageable, saving you time and frustration. By understanding how long to wait between coats and selecting the best products, you’ll avoid common mistakes and enjoy a stunning result.
At Brush & Roll Painting in Omaha, NE, we understand that painting is more than just a chore—it’s an investment in your home. We use high-quality paints to ensure faster drying times, fewer coats, and a flawless finish. While homeowners can tackle painting projects themselves, sometimes the details make all the difference.
If you’re in Omaha and want expert guidance or help with your next painting project, we are here for you. Click the button below to get a quote and let us take the stress out of your painting process.
Whether you are deep in the DIY process or considering hiring a painter for your next interior project, click the button below to get your interior painting project checklist. This checklist will walk you through each phase of the project, helping you mark off each stage with confidence.
Kaylea is the Brush & Roll Painting Content Manager. Kaylea is a Journalism and Media Communications summa cum laude graduate with a minor in Marketing from the University of Nebraska at Omaha. Kaylea manages the marketing for Brush & Roll Painting.


.jpg?width=1280&height=721&name=Havens%20after%201%20(1).jpg)


