Key Takeaways
- A lasting exterior paint job starts with cleaning, repairs, scraping, sanding, and spot priming before finish paint is applied.
- Power washing should remove dirt and loose material without damaging siding or forcing water behind it.
- Caulking is crucial to stop gaps and nail pops
- Windows, roofing, concrete, landscaping, fixtures, and other unpainted surfaces should be carefully covered before spraying begins.
- Spraying can provide an even finish, while brushing and rolling help work paint into textured or difficult areas.
- A detailed written quote should explain the preparation, products, application method, included surfaces, and cleanup.
Exterior painting can feel confusing because much of the most valuable work happens before the new color goes on. Two estimates may both say “paint the house,” yet one may include washing, repairs, sanding, primer, and careful protection while the other includes very little preparation. Those differences often explain a large gap in price and performance.
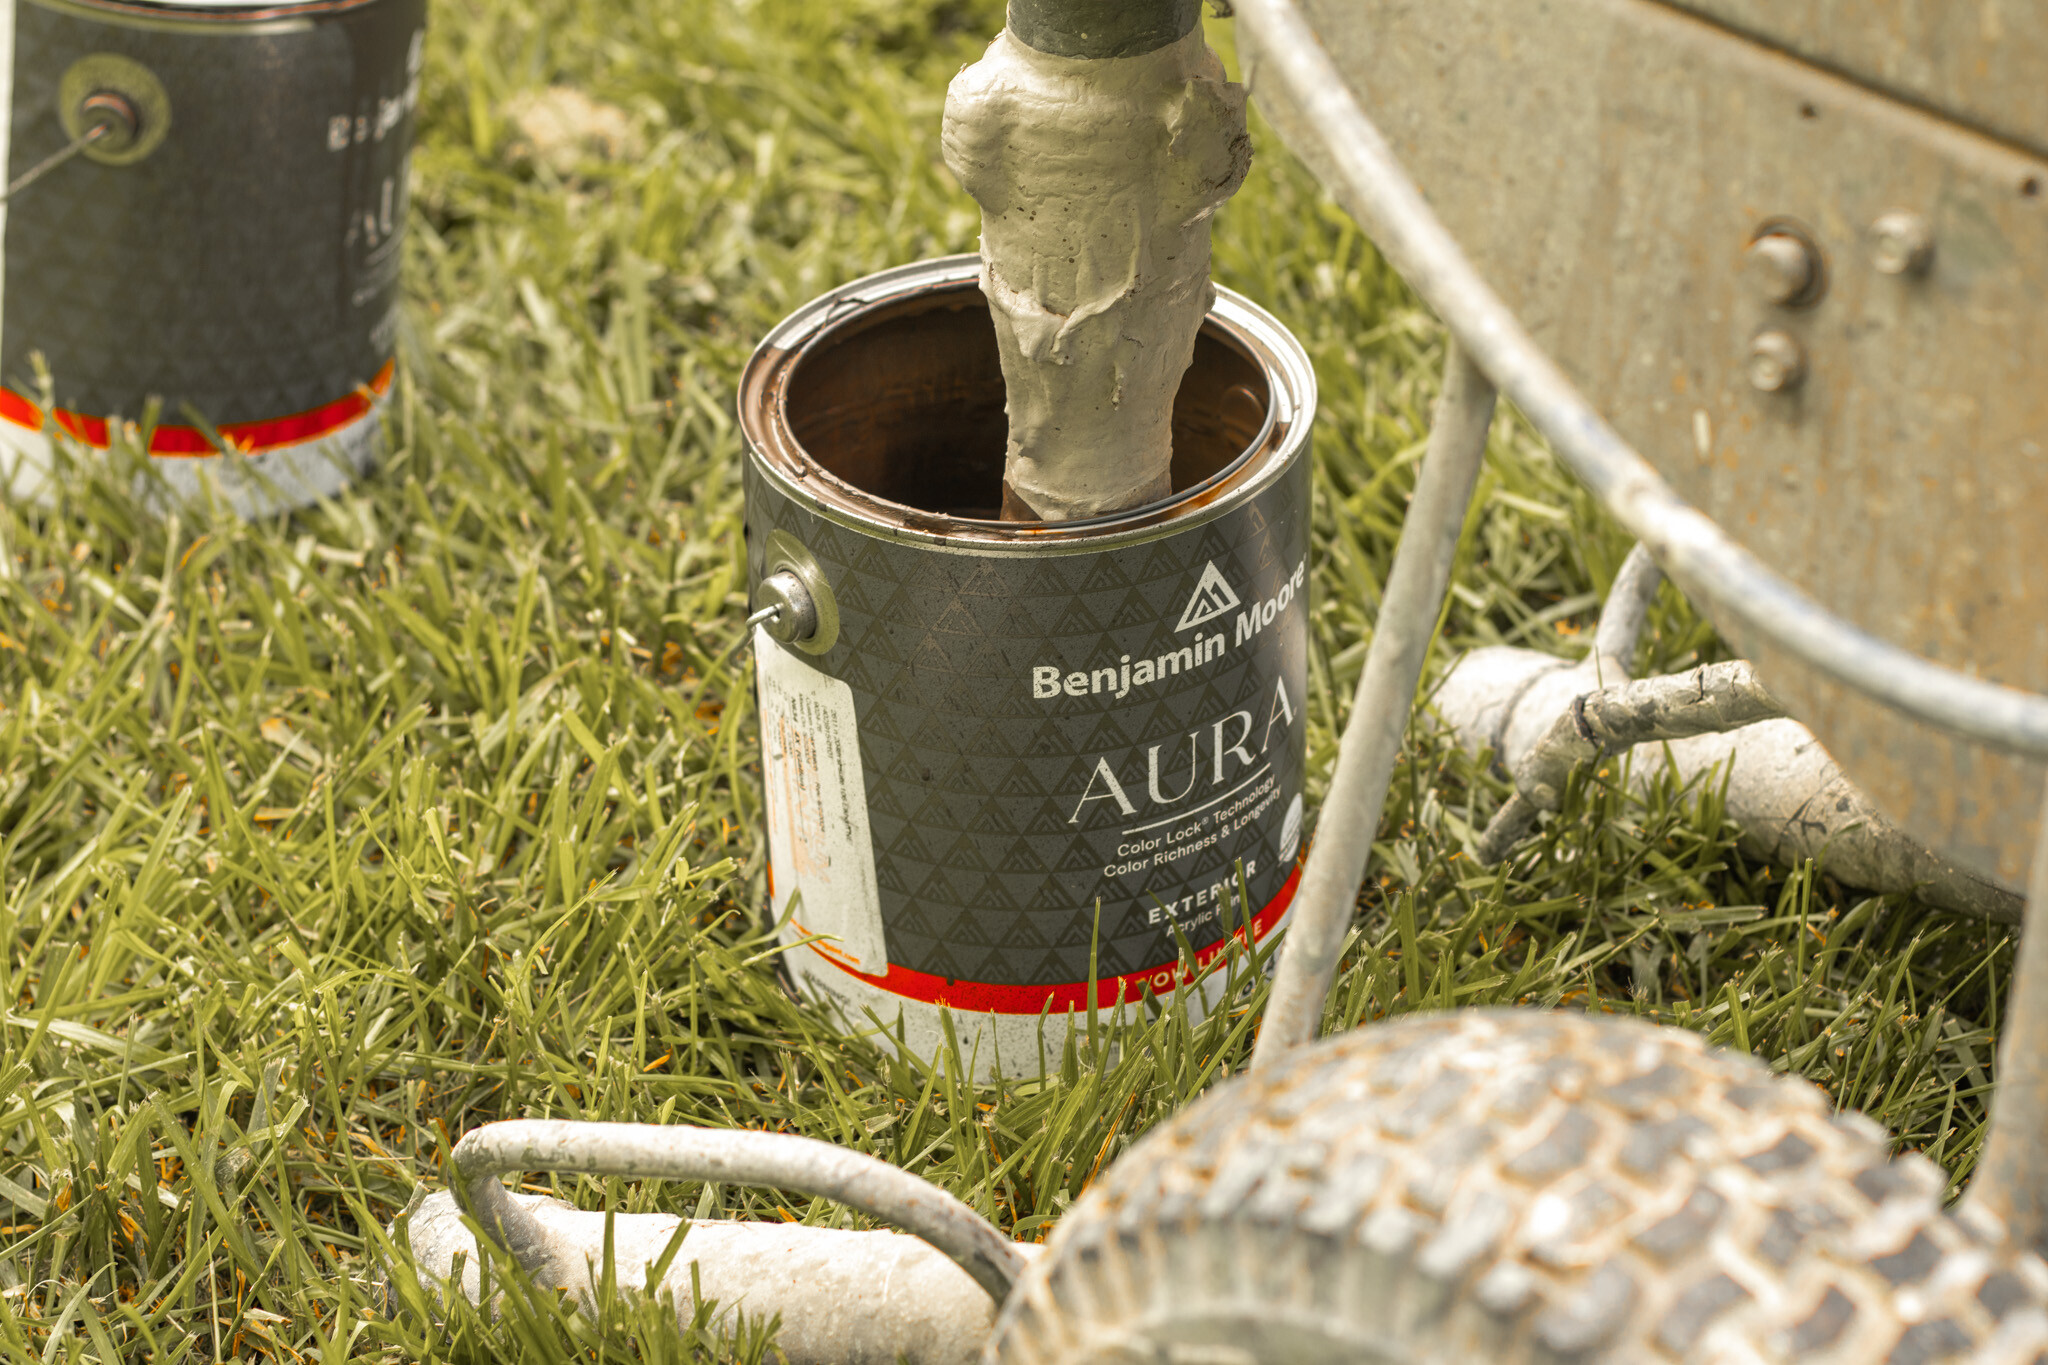
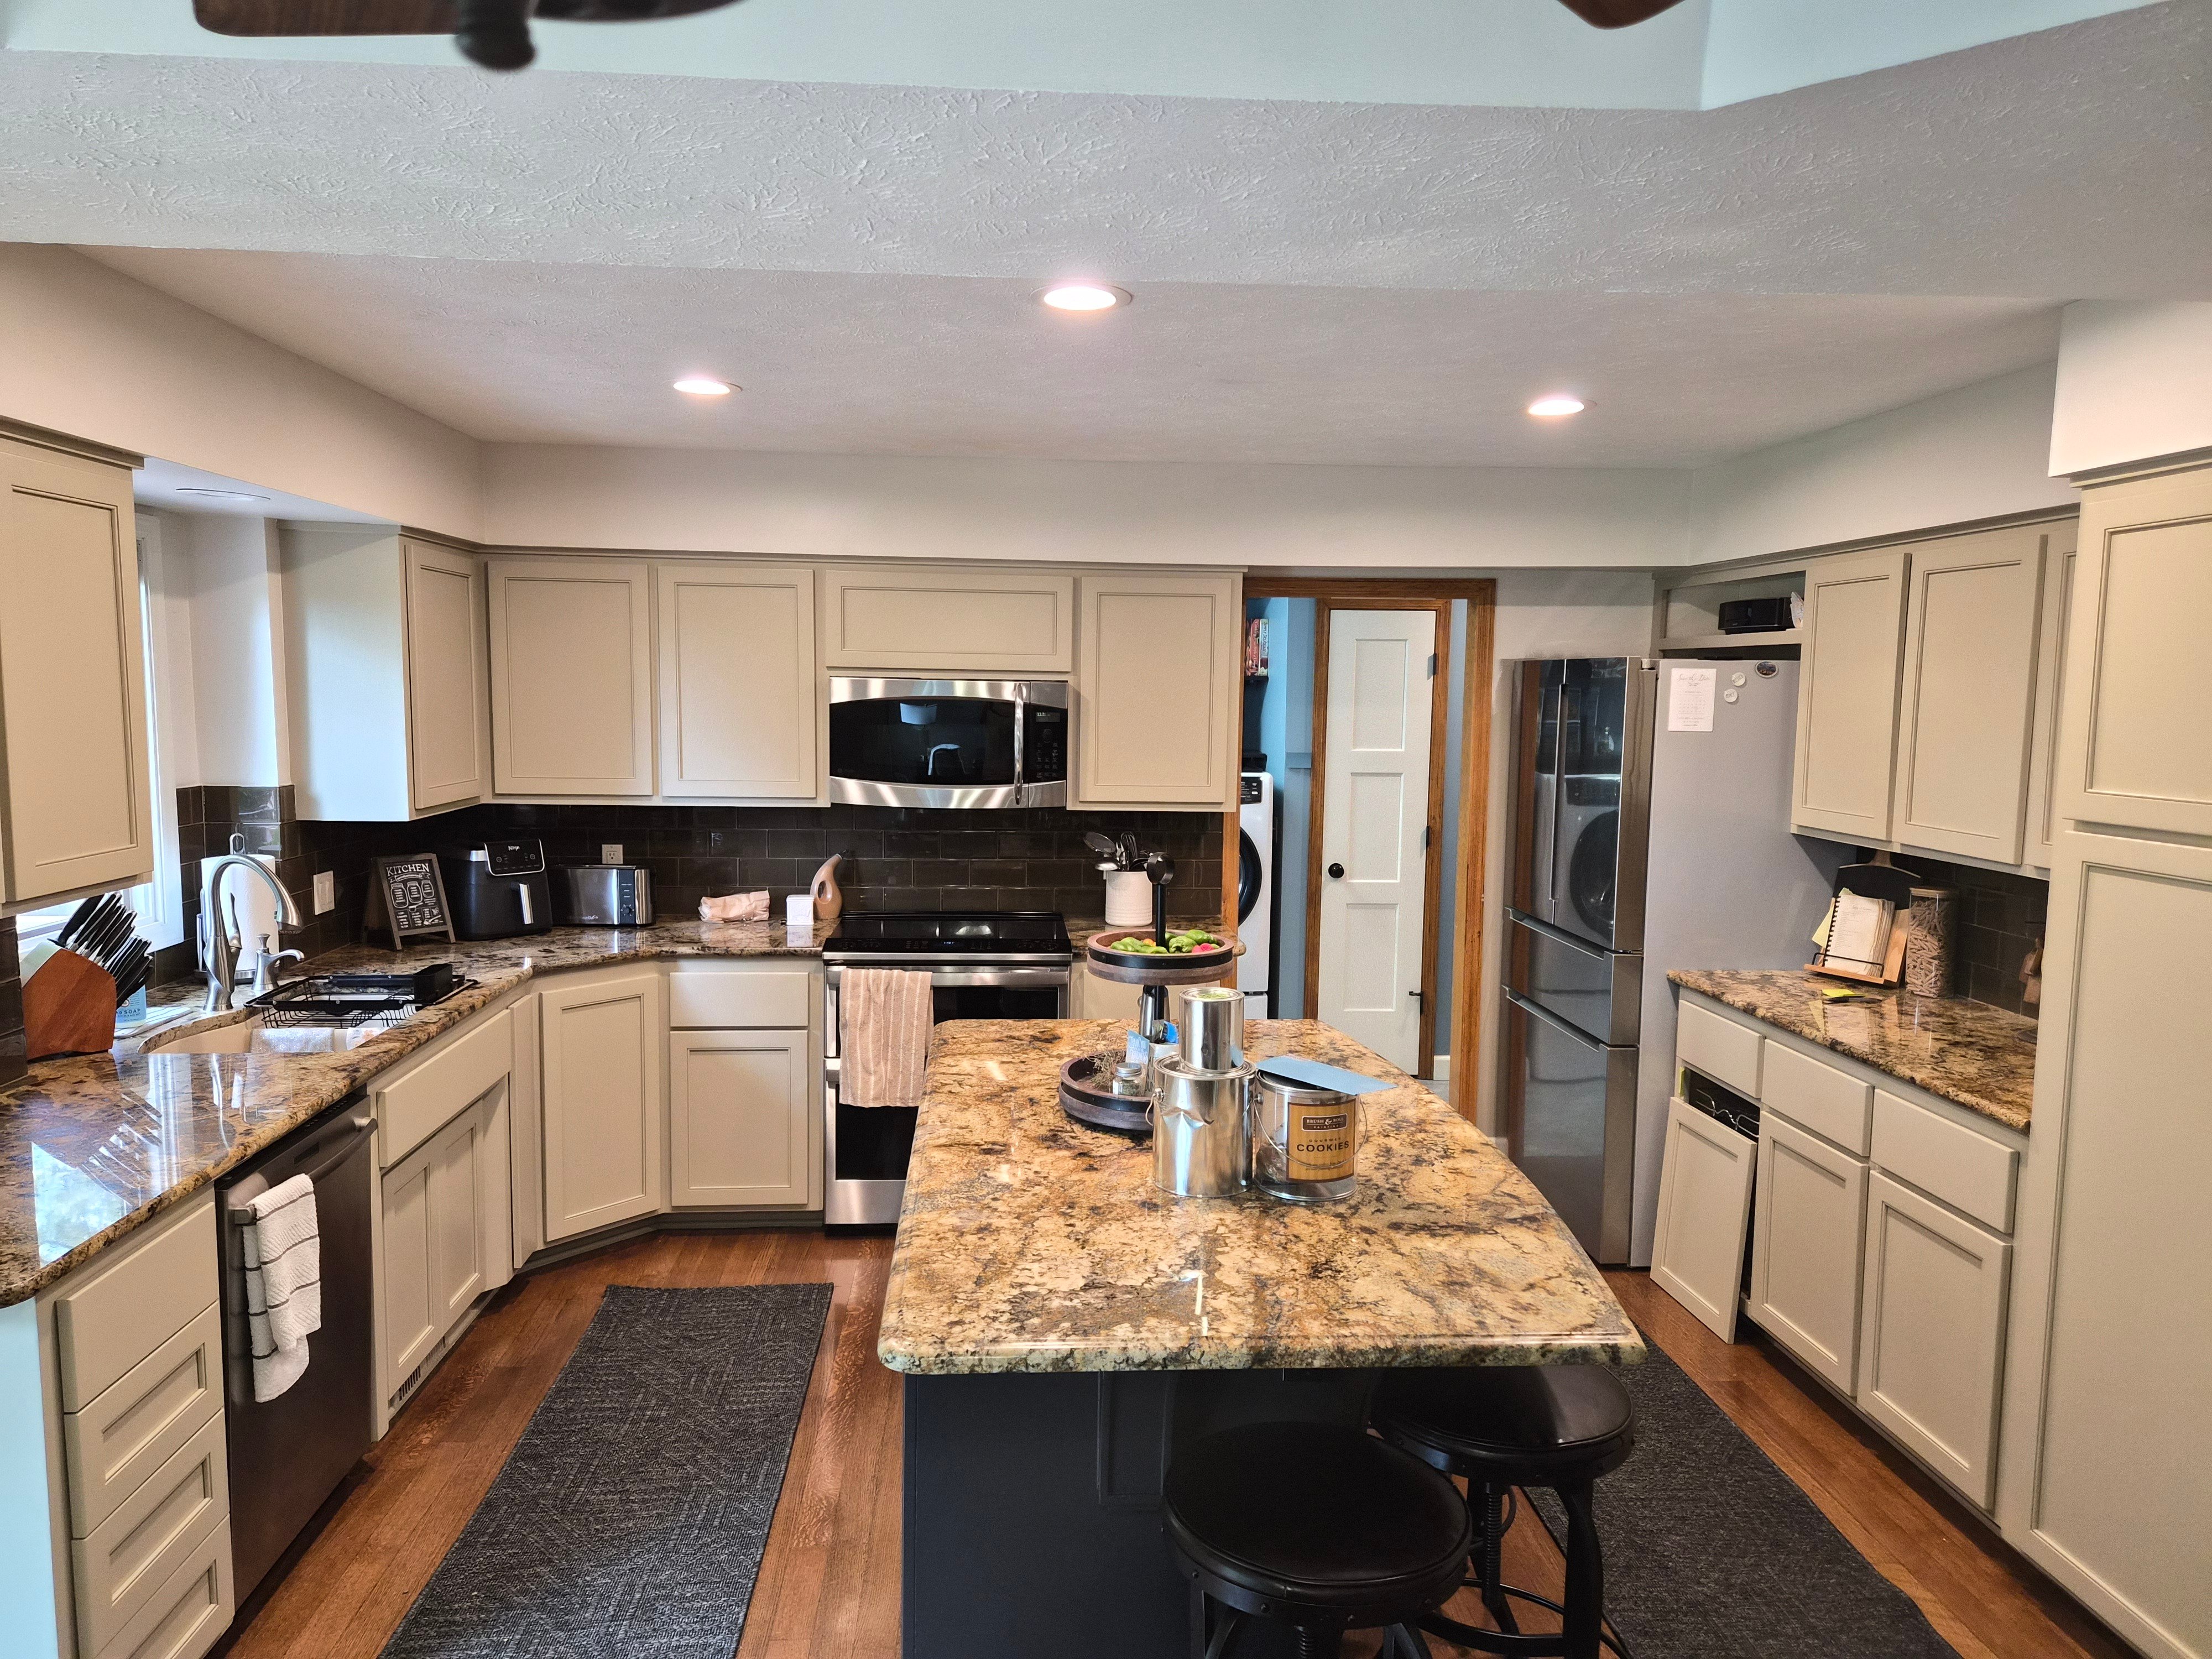
Brush & Roll Painting has served homeowners in the Omaha area since 1996. During that time, we have worked on homes exposed to hot summers, strong storms, winter moisture, and repeated freezing and thawing. That experience has shown us that good exterior painting is a step-by-step process, not simply a matter of spraying color onto siding.
This guide explains the best process for exterior home painting in Bennington, Nebraska, from the first inspection through the final cleanup. By the end, you will know what each stage should accomplish, which questions to ask a painter, and how to compare exterior painting estimates with more confidence.
What Happens During an Exterior Painting Quote in Bennington, NE?
A professional exterior quote identifies what will be painted, what needs repair, and what must be protected. The painter or salesperson should walk around every side of the home and look closely at siding, trim, fascia, soffits, doors, windows, caulking, and other included surfaces. This inspection becomes the foundation for an accurate written scope.
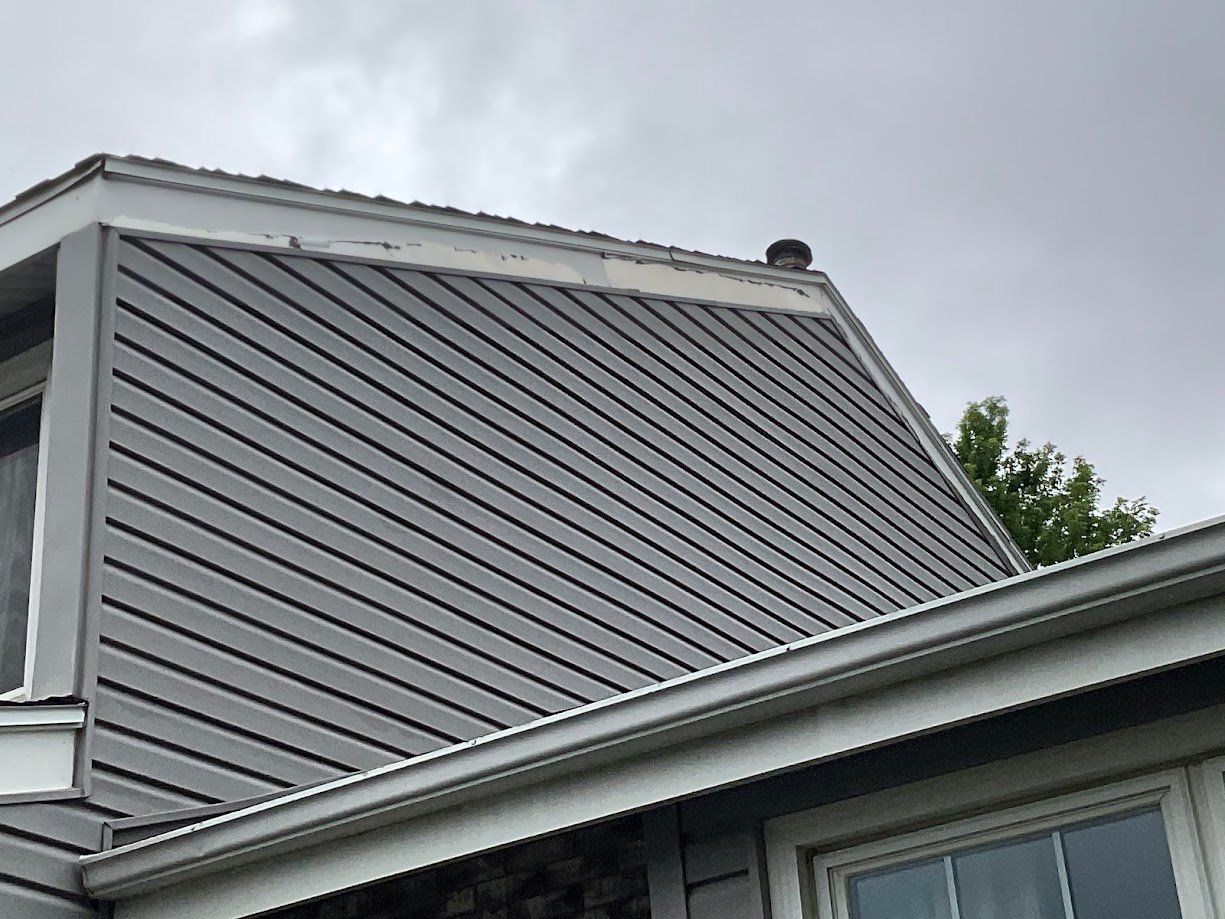
The painter should look for peeling paint, exposed wood, cracked caulk, loose siding, protruding nails, soft wood, open joints, rust, and stains. High areas and places hidden behind shrubs deserve attention too. Problems can be easy to miss when an estimate is completed from the street.
Homeowners should also confirm exactly which surfaces are included. Discuss:
- Siding
- Corner boards and trim
- Fascia and soffits
- Gutters and downspouts
- Garage doors and service doors
- Window trim and shutters
- Porch ceilings, columns, and railings
- Foundation areas
- Utility boxes, vents, and exterior fixtures
The estimate should state which surfaces are excluded as well. Clear details reduce misunderstandings once the crew begins.
1. Power Washing Before Exterior Home Painting
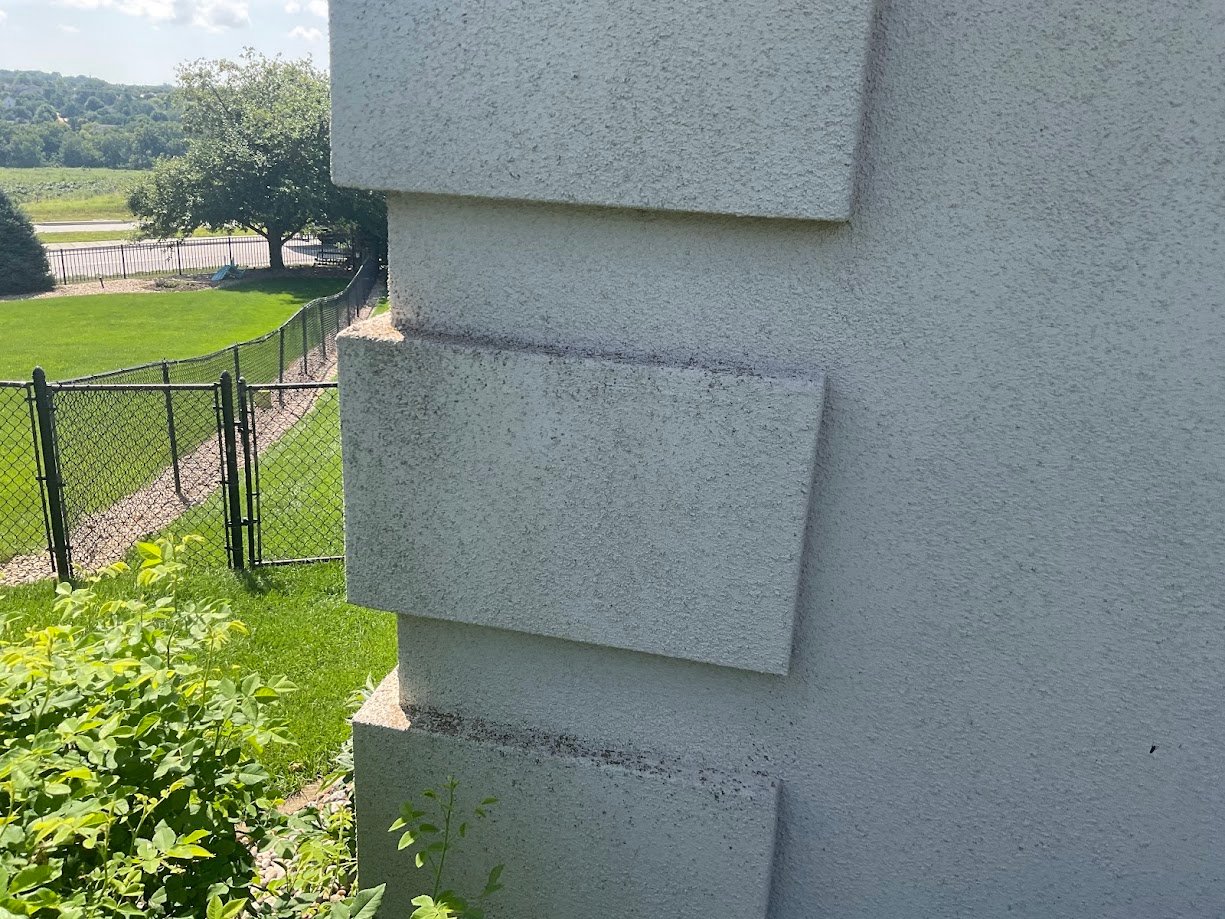
Power washing removes dirt, dust, pollen, mildew, cobwebs, and loose surface material that could keep paint from bonding. Paint needs a clean and sound surface. Applying it over grime may produce a finish that looks fine at first but begins failing earlier than it should.
The goal is controlled cleaning, not maximum pressure. Too much pressure can scar wood, damage siding, loosen caulk, or drive water behind the exterior surface. A trained crew adjusts its method for the material being washed and pays close attention around windows, doors, vents, and electrical fixtures.
After washing, the home needs time to dry. The exact drying time depends on the weather, shade, siding material, and how much water reached the surface. Painting damp wood can trap moisture and weaken adhesion. A responsible schedule allows conditions to guide the start of preparation and painting.
2. Repairs Before Exterior Home Painting
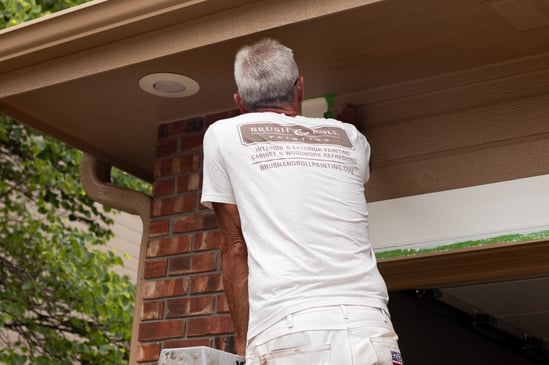
Repairs should be handled before finish paint because paint cannot correct damaged or unstable materials. Loose boards should be secured, protruding nails should be set, and deteriorated sections may need replacement. The scope should explain which minor repairs are included and how larger discoveries will be approved and priced.
Common repairs on Bennington homes may include replacing damaged siding, filling nail holes, fastening loose trim, and repairing small areas of wood. If rot extends behind the visible surface, more work may be necessary once the damaged material is opened.
Paint protects sound material, but it does not rebuild soft wood or stop an active leak. Water problems from roofing, gutters, flashing, plumbing, or failed windows should be corrected before the painting process moves forward. Otherwise, the new coating may fail in the same location.
Ask the painter, “What could make this quote change?” A helpful answer should explain how hidden damage, extensive carpentry, or additional customer-requested work will be handled. Changes should be discussed before extra work is completed.

3. Exterior Caulking Before Painting
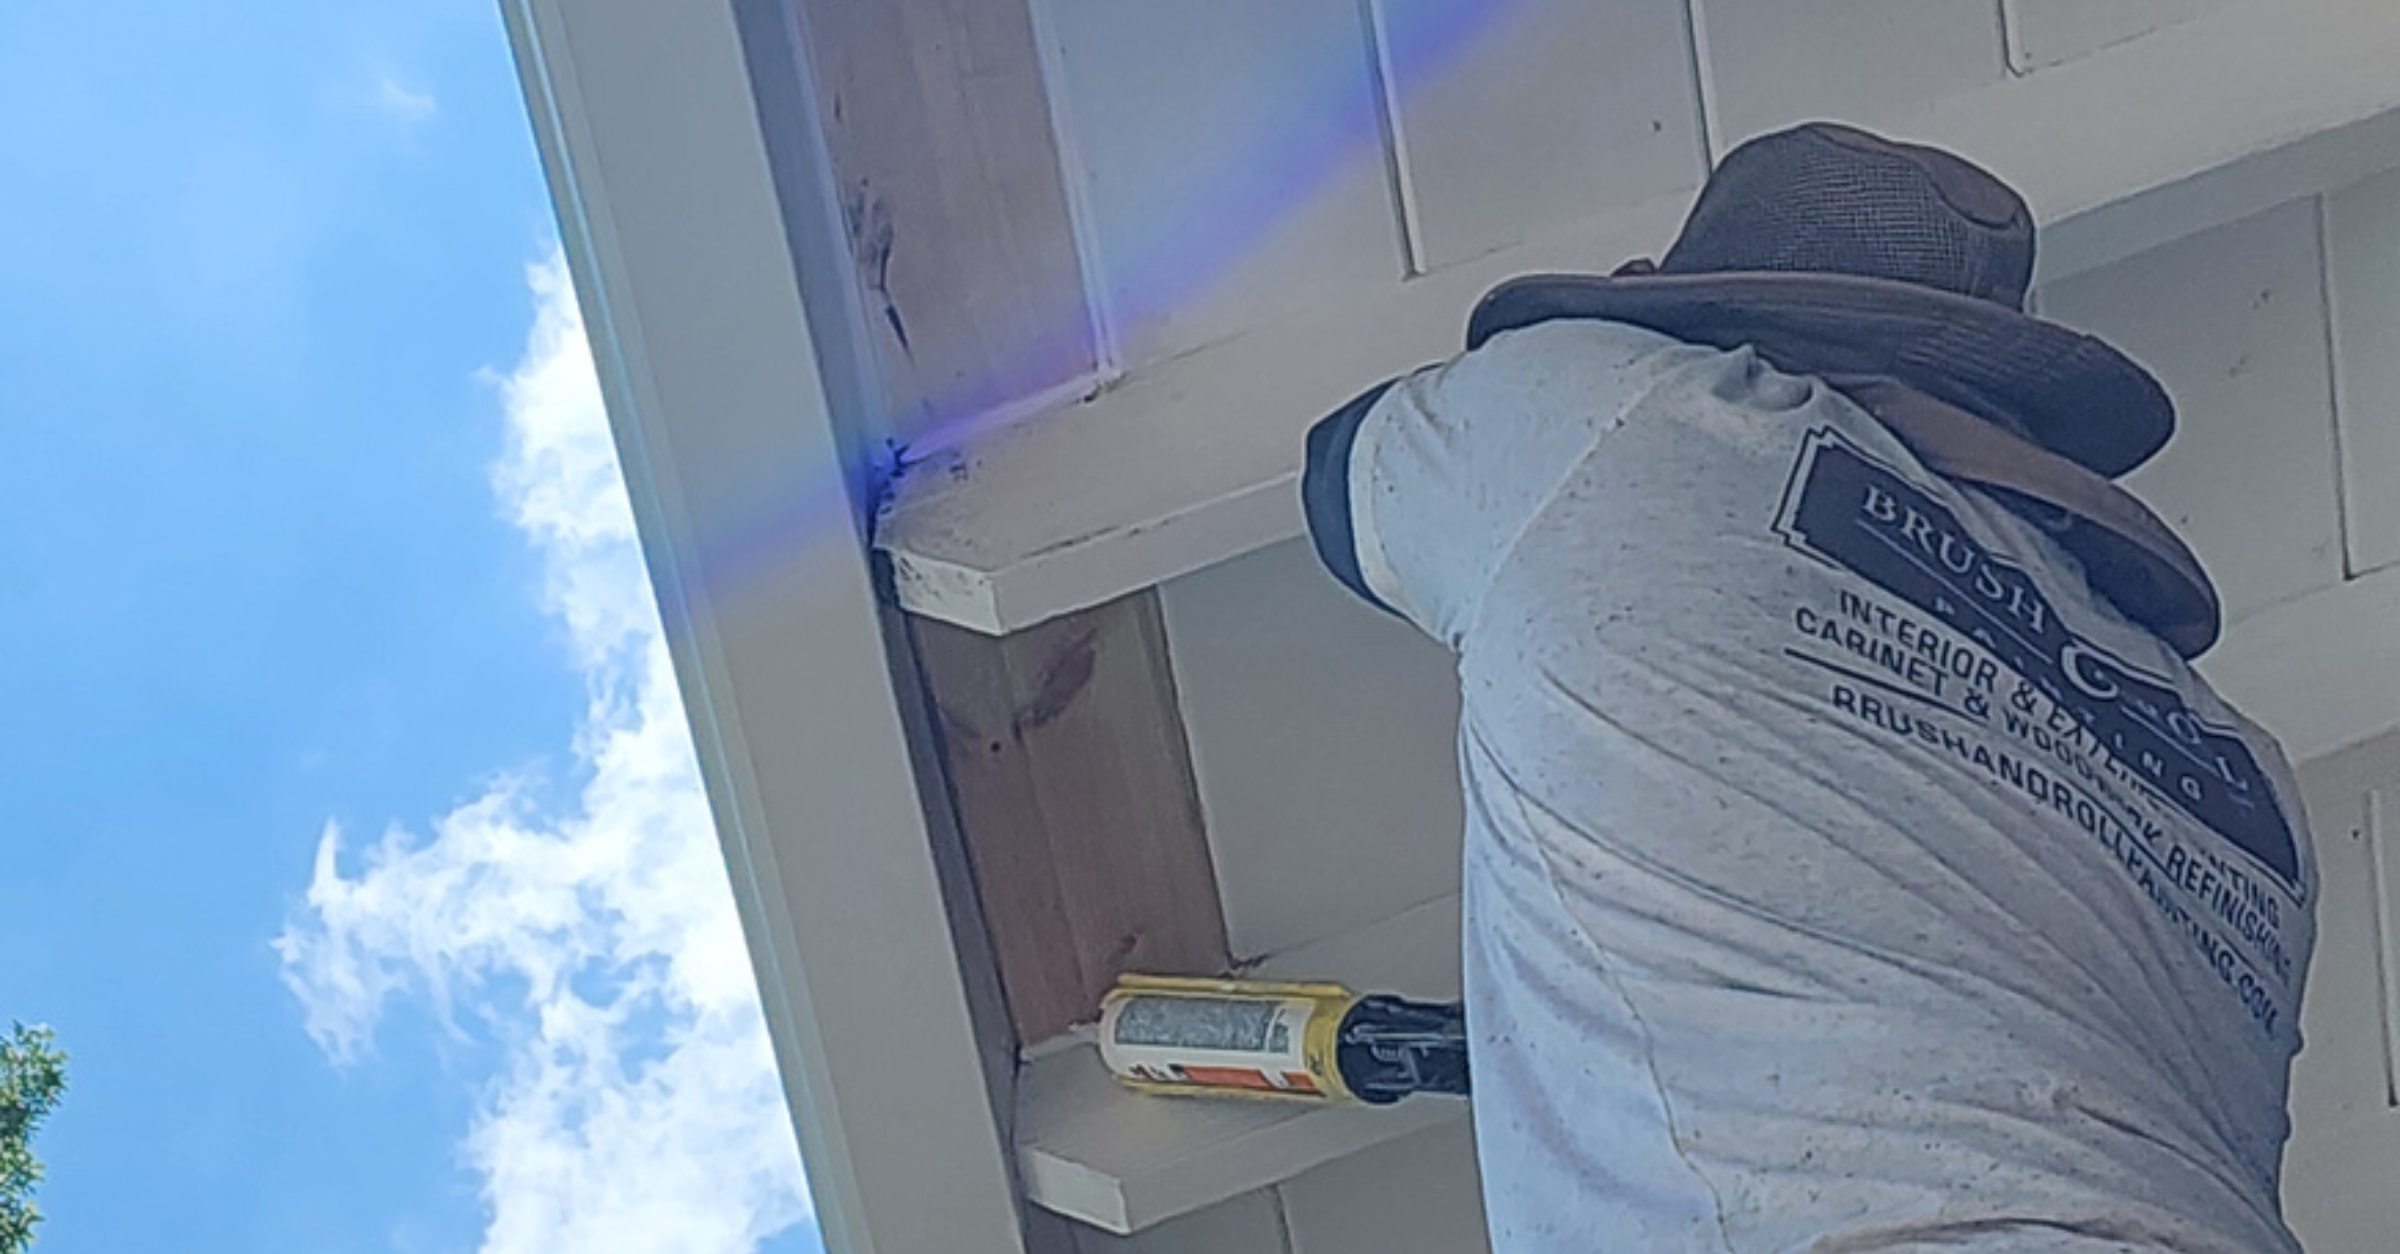
Remove failed caulk where it is loose, split, missing, or no longer bonded to the surrounding surfaces. The joint should then be cleaned and recaulked with an exterior-grade product suited to that location. Sound caulk may remain if it is firmly attached and still doing its job.
Caulking helps close appropriate joints around trim, corner boards, windows, doors, and other transitions. It keeps water from entering vulnerable gaps and creates cleaner painted lines.
More caulk is not always better. Certain openings are designed to drain water or allow airflow. Weep holes, some siding laps, and ventilation points should not be sealed without confirming the construction requirements. A painter should understand the difference between a failed joint and an intentional opening.
Fresh caulk also needs enough curing time before paint is applied. That timing depends on the product and weather. Rushing this step can cause cracking, wrinkling, or poor adhesion.
4. Peeling Areas Scraped, Sanded, and Primed
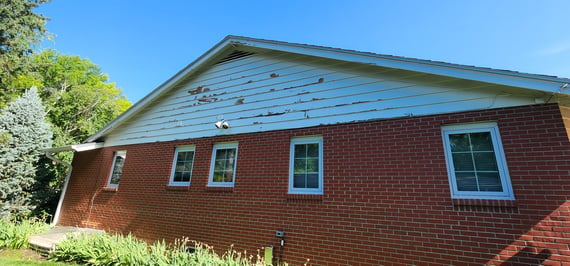
Loose and failing paint should be scraped away until the remaining coating is firmly attached. Rough edges are then sanded to create a smoother transition. Bare wood and other surfaces that require primer should be spot-primed before finish coats are applied.
Scraping is not the same as stripping every layer from the house. On many repainting projects, the crew removes paint that is already peeling or poorly bonded. Firmly attached coatings can usually remain after proper cleaning and preparation.
Sanding serves several purposes. It softens sharp paint edges, smooths rough fibers, and improves the surface for the next coating. Some areas may need light sanding, while heavily weathered spots may require more attention.
Primer is especially useful on bare wood, patched areas, stains, and certain repairs. It helps seal the surface and gives the finish paint a suitable base. The correct primer depends on the material and the problem being addressed. A single primer is not right for every condition.
Homes built before 1978 may contain lead-based paint. If lead paint could be present, ask whether the contractor is properly certified and how dust and paint chips will be contained, collected, and disposed of. Lead-safe work practices protect the household, workers, soil, and neighboring property.
5. Protecting Windows and Landscaping Before Spraying
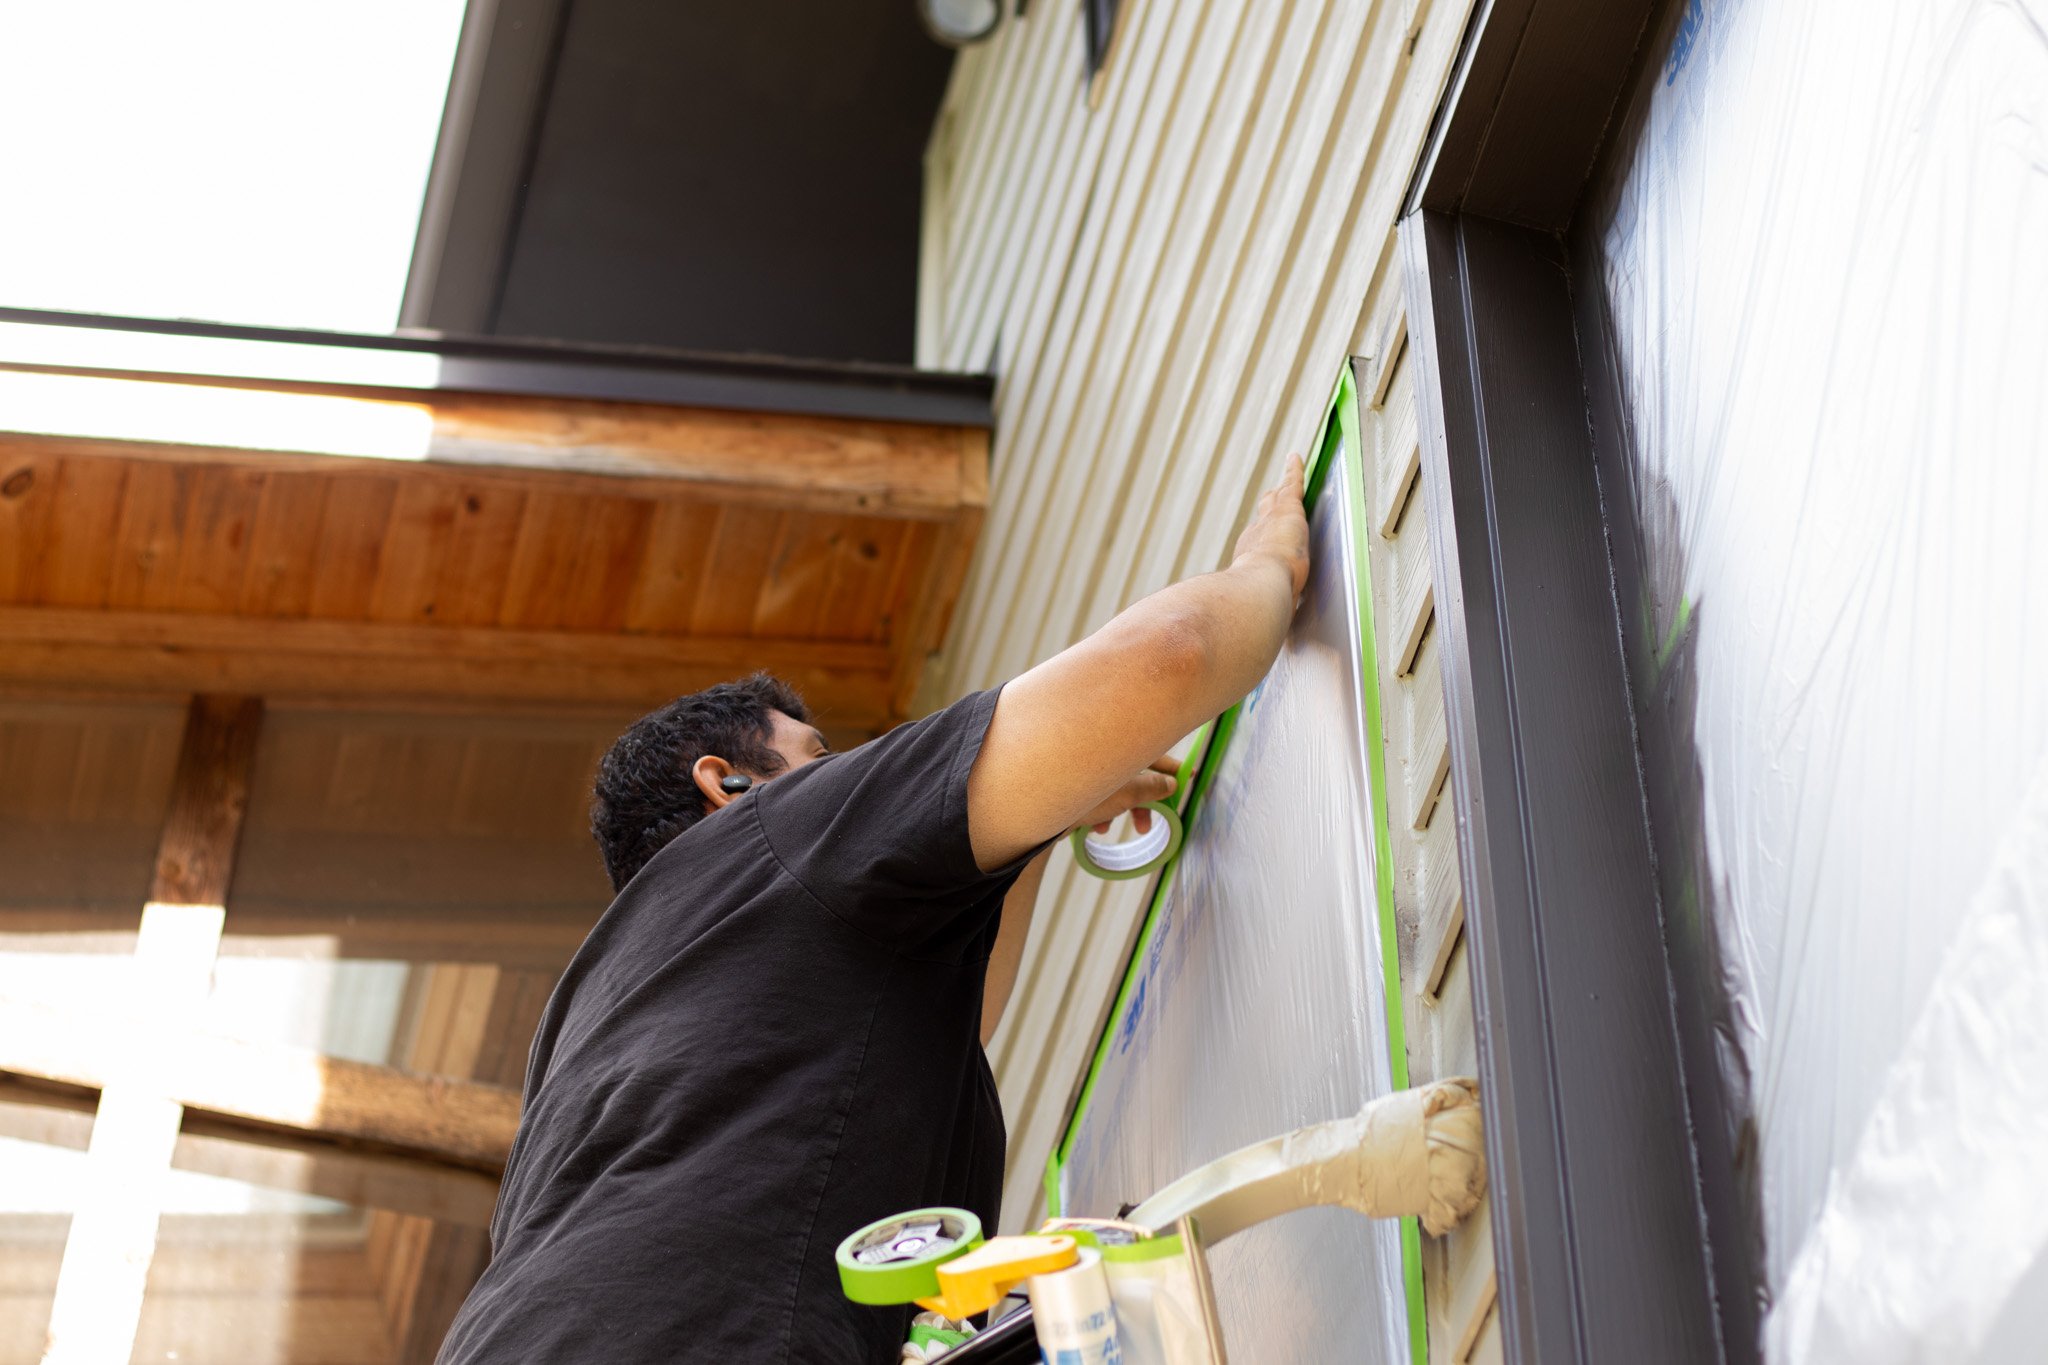
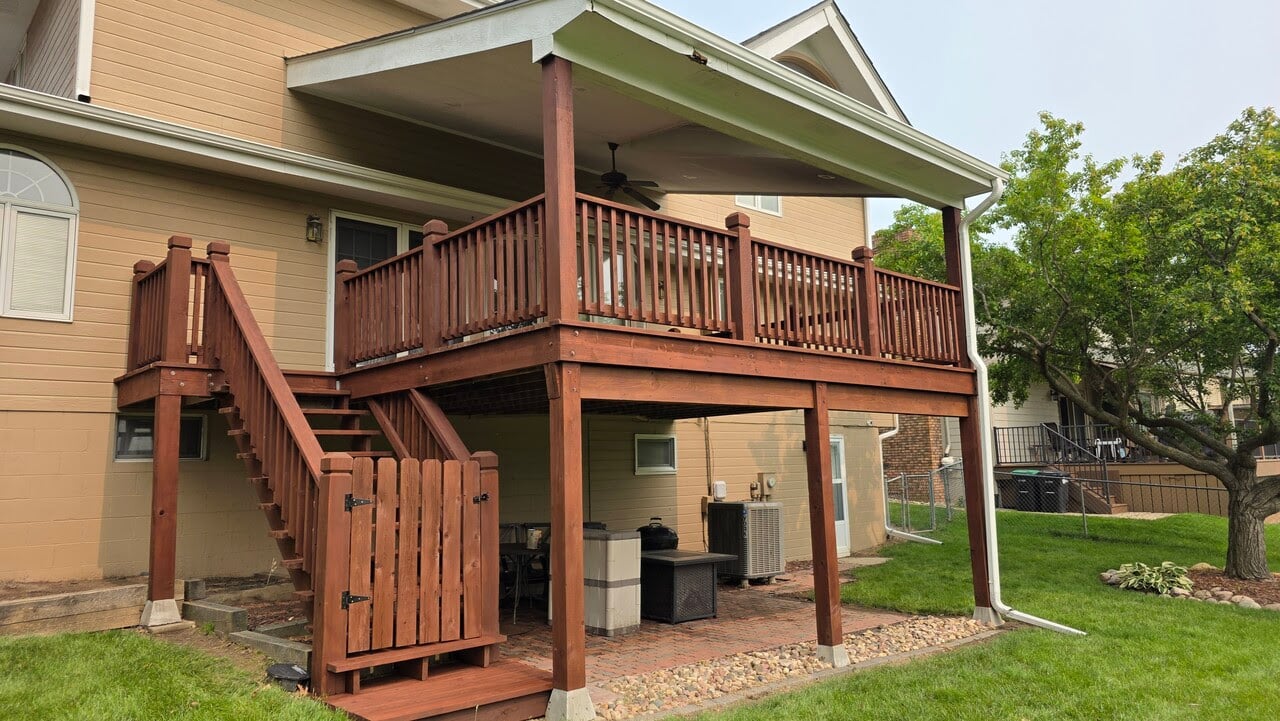
Everything not intended for paint should be covered or moved before application begins. This includes windows, roofing, brick, concrete, decks, plants, outdoor furniture, light fixtures, door hardware, utility equipment, and nearby vehicles. Careful masking is a major part of a clean exterior project.
Protection may include painter’s tape, masking paper, plastic, canvas drops, and breathable coverings for plants. Shrubs may be gently tied back to create working room. Heavy plastic should not remain over plants longer than necessary, especially during warm weather, because trapped heat can damage them.
Windows and doors need crisp masking lines. Roofing, masonry, and concrete require protection because overspray can be difficult to remove from porous materials. Wind conditions must also be watched throughout the day. A crew should pause spraying when the breeze makes safe control difficult.
Homeowners can help by moving vehicles, patio furniture, grills, decorations, and other portable items away from the work area. The painting company should explain these expectations before the start date.
6. Spraying vs Rolling for Exterior House Painting
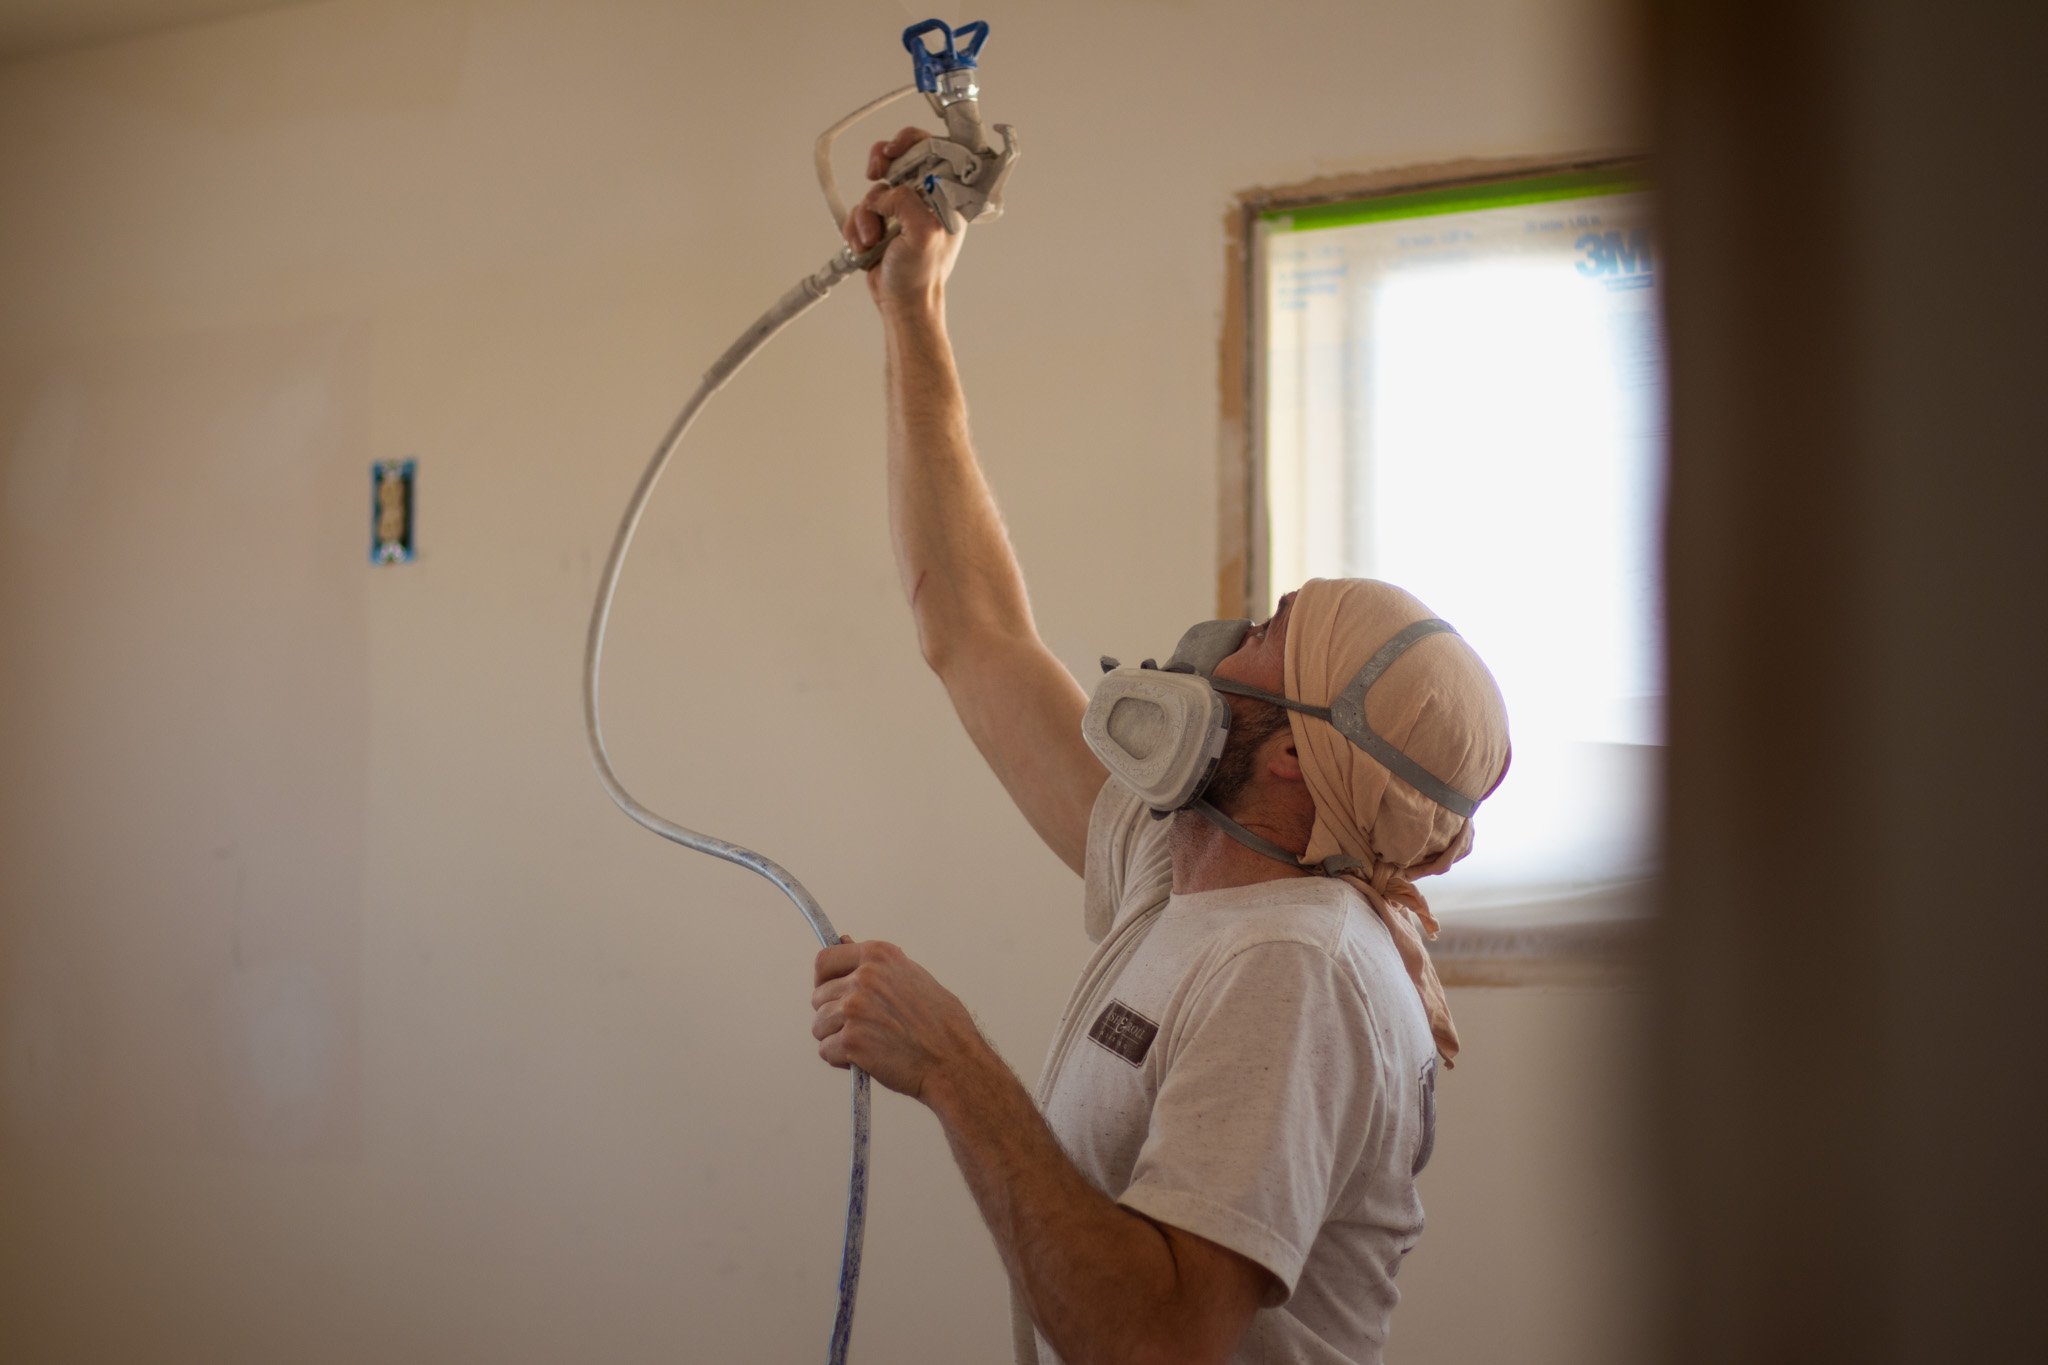
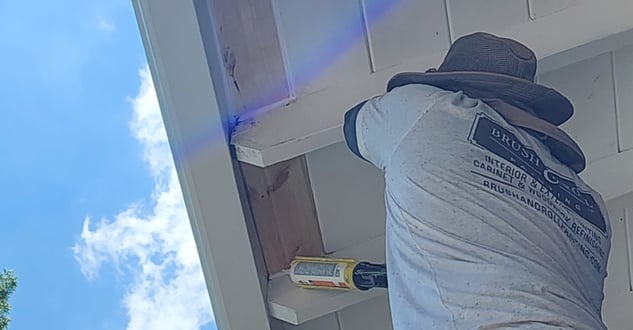
Neither method is automatically best for every surface. Spraying is efficient and can create an even coat over large or textured areas. Brushing and rolling offer control around details and can help work paint into grooves or rough surfaces. Many quality exterior projects use a combination of these methods.
Spraying requires careful masking, suitable weather, correct equipment settings, and an experienced operator. The painter must apply enough material for proper coverage without creating runs or excessive buildup.
Back brushing or back rolling means brushing or rolling freshly sprayed paint while it is still wet. This can help push the coating into textured siding, cracks, and uneven areas. Whether it is needed depends on the surface, existing condition, product instructions, and project specifications.
Brush work is commonly used around trim, edges, windows, doors, tight spaces, and areas where spraying would be difficult to control. Rolling may be used on broad, flat sections or surfaces that benefit from added pressure.
Instead of asking only, “Will you spray or brush?” ask:
- Which application method will you use on each surface?
- Will any areas be back brushed or back rolled?
- How will you control overspray?
- How many finish coats are included?
- How will you confirm proper coverage?
The answers should match the condition and materials of your home.
7. Exterior Painting Cleanup and Walkthrough
The final stage should include removing masking materials, cleaning the work area, reinstalling fixtures, and inspecting the painted surfaces. The crew and homeowner should have a chance to identify reasonable touch-ups before the project is considered complete.
Cleanup should happen throughout the job, not only on the last afternoon. Tools and materials should be stored safely, and walkways should remain as usable as the project allows.
During the final walk-through with a crew lead, look at the house from several angles and distances. Check trim lines, coverage, repaired areas, windows, doors, and surfaces next to brick or roofing. Ask about leftover labeled paint for future touchups and maintenance plan or warranty information.
Final payment terms should already be stated in the agreement. A clear proposal explains the deposit, progress payments, final payment, and the point at which the work is considered complete.
FAQs About Exterior Home Painting in Bennington, NE
How long does exterior house painting take?
Many exterior projects take several working days, but size alone does not determine the schedule. Preparation needs, repairs, crew size, drying time, weather, access, and the number of colors all matter. Ask for an estimated range and expect rain or unsuitable conditions to extend it.
What Weather Is Best for Exterior Painting in Bennington, Nebraska?
Exterior paint should be applied within the temperature, moisture, and drying limits listed by the manufacturer. Rain, high humidity, extreme heat, and freezing overnight temperatures can all affect the schedule. Omaha area weather can change quickly, so flexibility is part of a responsible exterior project.
The surface temperature can differ from the air temperature. Dark siding in direct sun may become much hotter than the forecast suggests. Shaded areas may stay damp longer after rain or morning dew.
A professional crew watches current conditions and the forecast. Delaying work may be inconvenient, but painting during poor conditions can lead to lap marks, slow curing, loss of adhesion, or early failure. Weather delays should be treated as protection for the finished job, not wasted time.
Do homeowners need to be home while the exterior is painted?
Homeowners usually do not need to remain home all day, but the crew needs reliable access and a way to communicate. Confirm plans for gates, pets, water, exterior electrical outlets, windows, doors, and garages before work starts.
Can painters work around shrubs close to the house?
Often they can, but dense landscaping slows preparation and may block access. Shrubs can sometimes be tied back carefully. Major trimming should be discussed before the project. Plant coverings should be managed so heat is not trapped for long periods.
Exterior Home Painting in Bennington, NE
Hiring an exterior painter is easier when you know what should happen before, during, and after the paint is applied. The right process begins with a close inspection and controlled washing. It continues through repairs, caulking, scraping, sanding, spot priming, and careful masking. Finish paint is then sprayed, brushed, or rolled according to the needs of each surface, followed by cleanup and a final inspection.
You can now compare proposals by looking beyond color and price. Ask what preparation is included, which products will be used, how the property will be protected, and how changes will be handled. Those details give you a much clearer picture of the work behind each estimate.
Brush & Roll Painting has served the Omaha area since 1996. We share this information to help Bennington homeowners make sound decisions, whether they hire our team or another qualified painting contractor. If you are ready to discuss your project, click the button below to get a quote.

If you are not ready for an onsite quote, use our exterior painting pricing calculator. Enter your home’s square footage and preferred paint quality level to receive a general price range and begin planning your project.